
If you're taking your first steps into DIY maintenance a coolant flush is exactly the kind of basic job to get you into the swing of working on your MX5 yourself. it's also something you need to do as part of more involved jobs, including cambelt changes on Mk1 and Mk2 models, and a perfect stepping stone for teaching yourself basic spannering skills.
Officially for Mk1 and Mk2 MX5s the coolant needs changing every couple of years or 30,000 miles. Earlier Mk3s follow a similar schedule, later ones with a radiator cap marked 'FL22' and Mk4s used dedicated long-life coolant that lasts 11 years or 125,000 miles. If that's you then you can probably stop reading now, unless your car has reached either of those milestones recently!
Click to watch our 'How To' guide or read on for more details
If you do run an older MX5 and are changing your oil on an annual basis you can get into the habit of doing the coolant every other year to be sure everything is running sweetly, though it goes without saying monitoring the level in the expansion tank and/or radiator should be among your regular under-bonnet checks.
First things first - before doing anything involving the coolant system on the car make sure the engine is cold to avoid the risk of flying radiator caps or being scalded by boiling liquids. While we're talking health and safety remember coolant is nasty stuff, so avoid getting it on your skin, in your eyes or on your paintwork. And always dispose of old coolant responsibly, not by tipping it down the drain.
What you need:
- Basic tools, including a socket set, crosshead screwdriver and similar
- Magnetic 'wand'
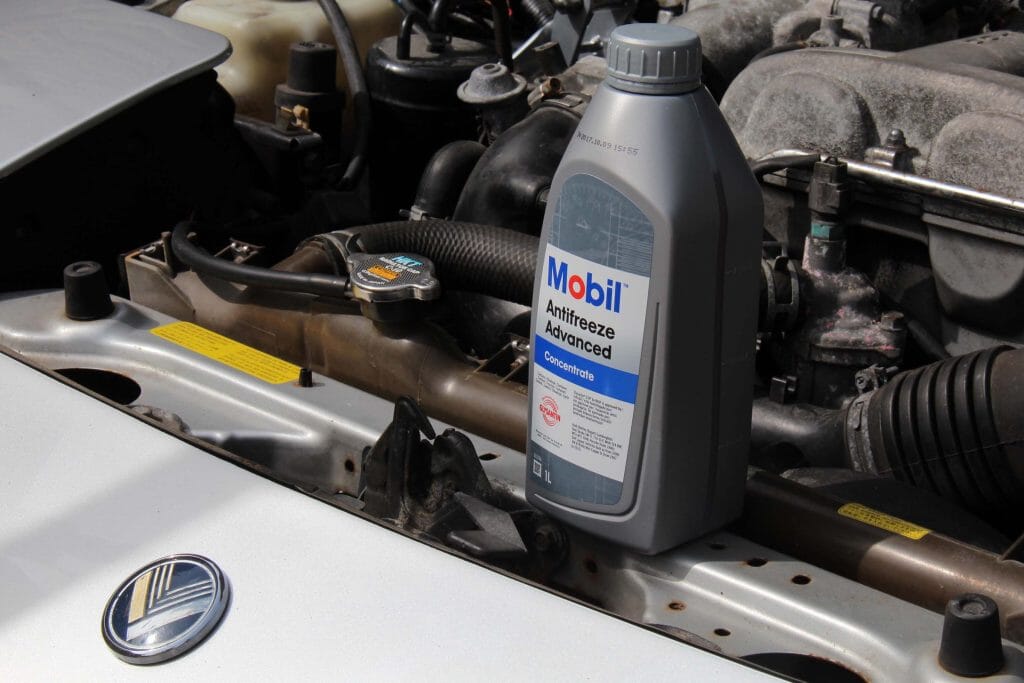
- Coolant flush liquid as necessary
- Fresh coolant, ready-mixed or concentrated for appropriate dilution with tap- or de-ionised water
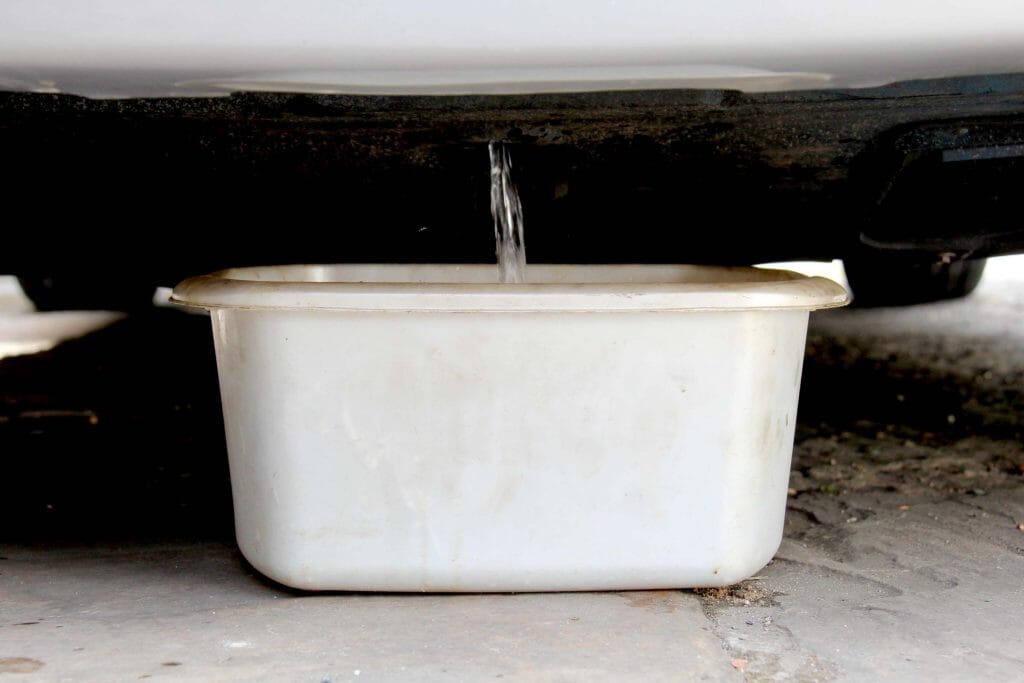
- Something to catch the old coolant as it comes out of the car like an old washing up bowl
- A funnel and some old plastic containers for mixing new coolant and transporting the old liquid for safe disposal
- Rags and towels
- Jack, wheel chocks and axle stands if necessary; ramps or wooden blocks to raise the car a little are sufficient
How to do it:
- The radiator drain plug on Mk1 and Mk2s is accessed via a hole in the plastic undertray at the front of the car; you can jack the car up to access it if required but it can be reached by feel with the car on the ground, or raised slightly on blocks as required.
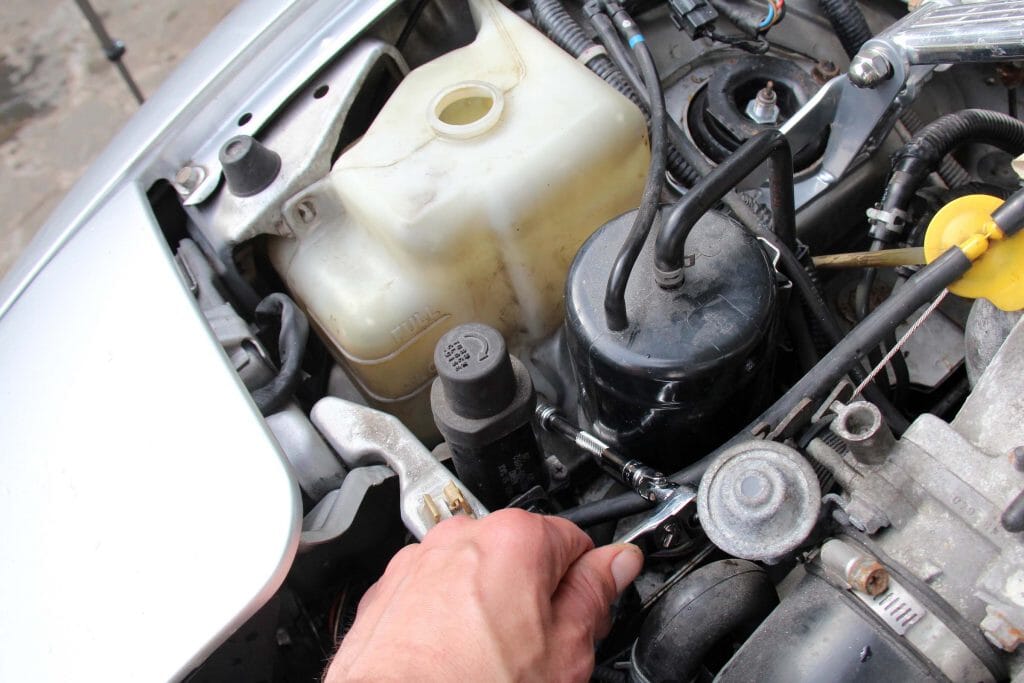
- Ensuring the car is cold, remove the radiator cap and lid of the expansion tank, which is on your left as you look down at the front of the car.
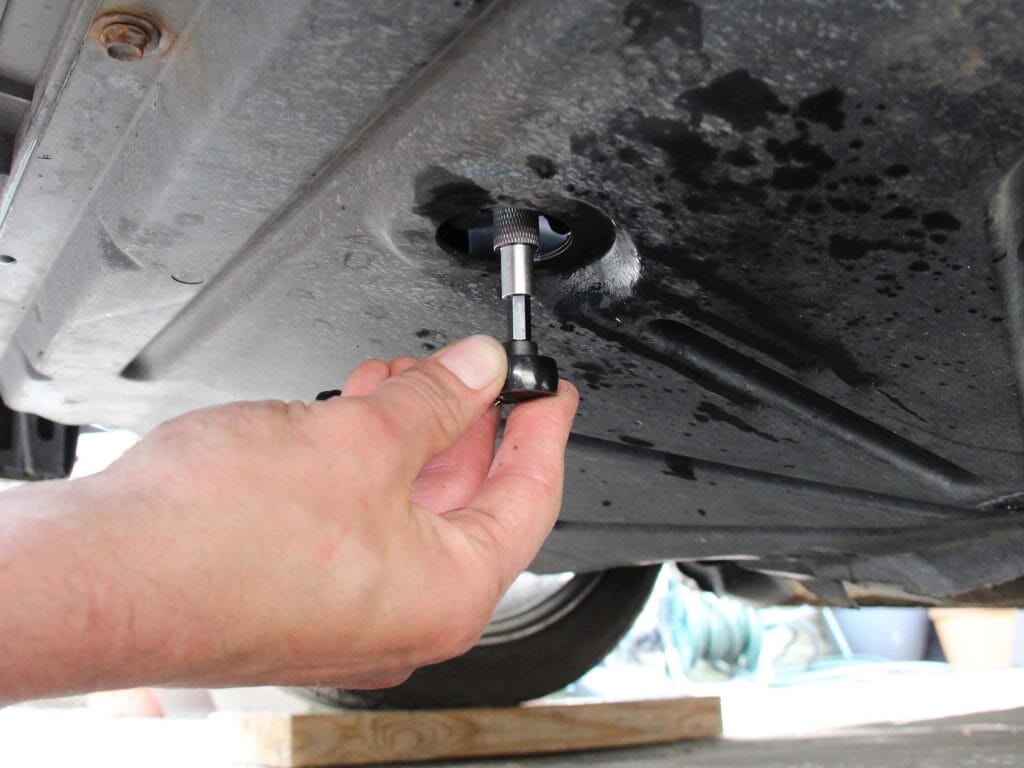
- Keeping your catch tank to hand, get under the car and locate the drain plug on the underside of the radiator - it's in the middle and a buried a couple of centimetres within the hole in the front of the plastic undertray.
- Having located the drain plug it's time to unscrew it using a large crosshead screwdriver or equivalent bit on a small socket driver. Caution! The plug is made of soft plastic and easily damaged so make sure the driver is a snug fit and proceed with caution, making sure you are turning it the correct way to loosen it. It should move easily - if it doesn't then take your time, make absolutely sure you're turning the correct way and be careful not to mangle the head. As a precaution it's worth adding a spare plug to your coolant order - they're cheap and it could get you out of a hole if you mess it up removing the original.
- Hopefully the plug has loosened and you can now unscrew it. Coolant should start to flow out as soon as the seal is broken so it's best to wear protective gloves and be ready with your catch tank to avoid spills. Try not to drop the plug into the old coolant as it comes out and leave the system to drain. There will be about six litres of liquid coming out so make sure your container is big enough!
- There should be coolant in the expansion tank too. To remove this simply unscrew the three 10mm bolts securing the tank to the inner wing, manoeuvre it out and tip the coolant into the catch tank. The lower bolt is a little difficult to access so you may need an extension and/or flexible head for your socket to reach it. don't let the bolt fall into the engine bay! What's that, it did? OK, time for the magic magnetic wand...
- If you want to be really thorough there is an additional drain plug on the side of the engine block too, though for the purposes of this guide We'll just drain through the radiator.
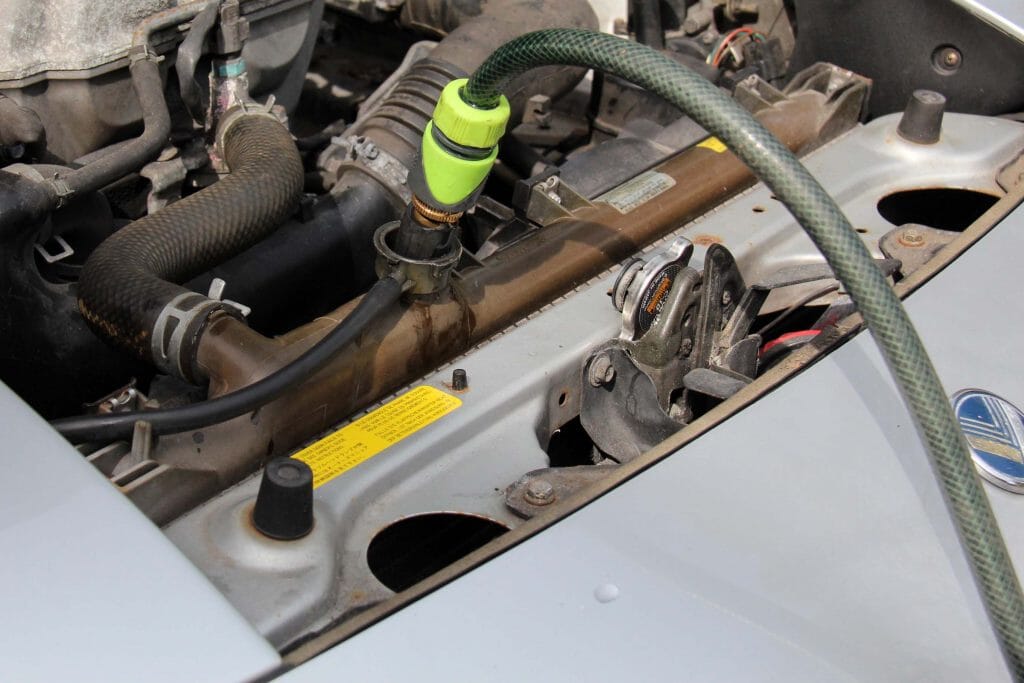
- At this point you may choose to flush the engine with water to remove any unwanted residue - this is worth doing if you don't know when the coolant was last changed. Simply stick a hose into the top of the radiator and let water flow through and out of the bottom at mains pressure.
- All drained? Time to replace the expansion tank, refit the plug and refill the radiator with fresh coolant.
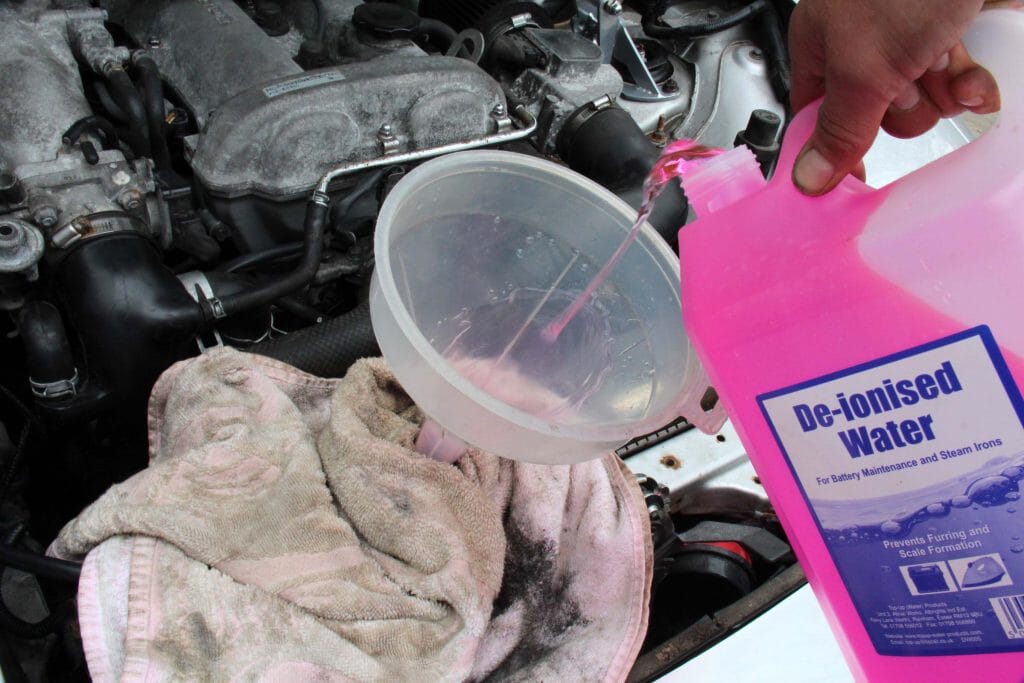
- You can buy ready-mixed coolant or dilute it yourself according to the specifications - 50/50 is the usual split but this can vary according to your local climate. Opinions vary as to whether you need de-ionised water but it's only few extra pounds and provides you a useful five-litre container for mixing and pouring your coolant.
- Wrap an old towel around the head of the radiator, stick a large funnel into the hole and start pouring your coolant in. Take your time - it'll likely splash back and dribble out of the top so make sure you mop up any overspill.
- When the coolant reaches the neck of the radiator pop the cap back on and fill the expansion tank to the minimum level marker on the side.
- Take the radiator cap off again, replace your towel or rag around the neck and run the engine with the cap off. Coolant will bubble in the neck of the radiator but slowly top up the level as the engine warms. When the thermostat opens the coolant will start to flow and you'll start pouring the coolant in at a greater rate. Squeeze the top radiator hose occasionally to encourage it and turn the heater and fan to full. Keep an eye on the temperature gauge.
- Once the fluids are hot and the top hose is warm the radiator should gulp up the rest of the coolant. When you've put about five litres in (the usual size for a container of de-ionised water) and the coolant up to the brim of the radiator neck turn the engine off, replace the cap and let the car cool down fully.
- Check the level in the radiator and expansion tank and top up as necessary. Go for a drive and, once the engine is fully warmed up, blast the heater at maximum to make sure the coolant is flowing correctly and there are no air locks in the system. Keep an eye on the temperature gauge - it should sit in the middle.
- If you're not getting any warm air through the heater park the car up, wait for it to cool down and then top up the coolant while gently squeezing the top radiator hose to get rid of any air in the system. Be ready with your towel or rag - coolant will spill out of the top!
- All done? you're good for another two years - go out for a celebratory drive!
How to do it with images:
Looking to change your Oil? Check out this handy How To guide
Leave your comment