
From replacing your shift boots to refreshing the oil in your gearbox and differential, here's all you need to know about getting your Mk1 or Mk2 MX5 shifting the way it should
The lovely short-shift manual gearbox is a defining feature across all four generations of MX5 and just one of many details Mazda has carefully honed (and maintained) under its much celebrated Jinba Ittai development ethos. In practice this means a gearshift you should be able to operate with a flick of the wrist to make the most of the revvy engine and rear-driven dynamics. you'll rarely encounter an MX5 of any generation that doesn't shift sweetly but if your Mk1 or Mk2 is getting a bit notchy, or you're feeling heat through the transmission tunnel, it might be worth changing the rubber shift boots to get it back to how it should be. The parts are cheap and it's an easy job to do but it's one that could just transform your car - especially the boots have completely disintegrated with age as they had on the Eunos Roadster seen here. For the full refresh we also went the extra mile and changed the oil in the gearbox and differential - here's how to do it.
Watch our handy 'How To' guide or read below for all you need to know (or do both!)
What you need (shift boot replacement):
- Basic tools (screwdrivers, socket set, etc)
- Large syringe or similar for sucking oil out of transmission turret
- Small funnel
- Stanley knife and/or scissors
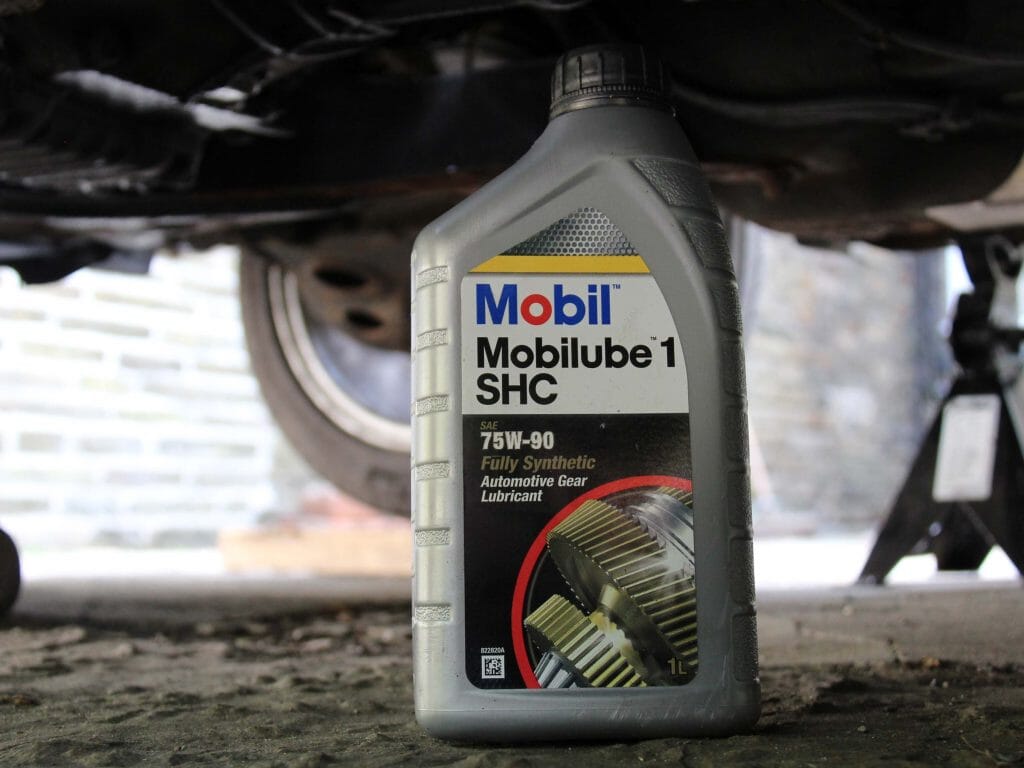
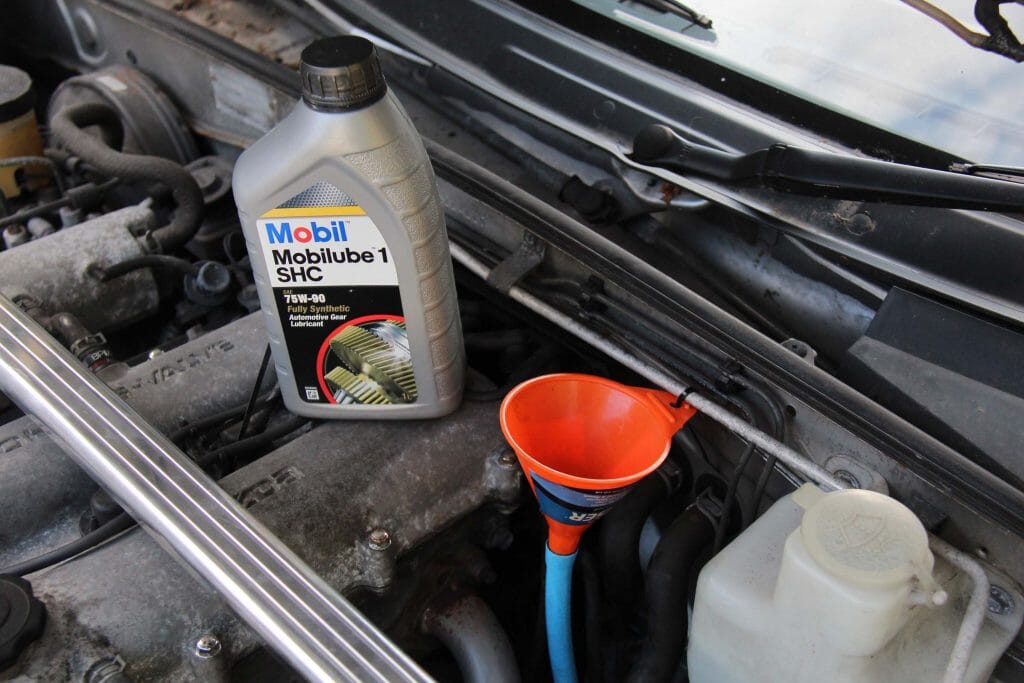
- Around 100ml of gearbox oil
What you need (additional for oil change in gearbox and diff):
- Trolley jack, wheel chocks, four axle stands
- Penetrating oil
- Six-sided 24mm socket and medium breaker bar
- Catch tank for oil and something to catch and transport it for safe disposal
- Cardboard sheet/large flattened box to protect ground/ease access to underside of car
- Around 3m of 12.5mm diameter plastic pipe (available from DIY stores)
- Small funnel and zip ties
- 2 litres of gearbox oil
- 1 litre differential oil
How to do it:
- Order your parts! You can order the bits separately but, if you're doing it, you may as well do the lot, whether with Mazda original parts or IL Motorsport equivalents - note the latter kit does not include the lower nylon bushing and you'll need to order this separately. If you're considering a quick-shift kit now is the time to do it as you'll be taking the mechanism apart anyway.
- Working from the interior of the car make sure you have some old towels, rags or similar to protect the carpets - you'll be dribbling some oil about and will need to have something to catch drips!
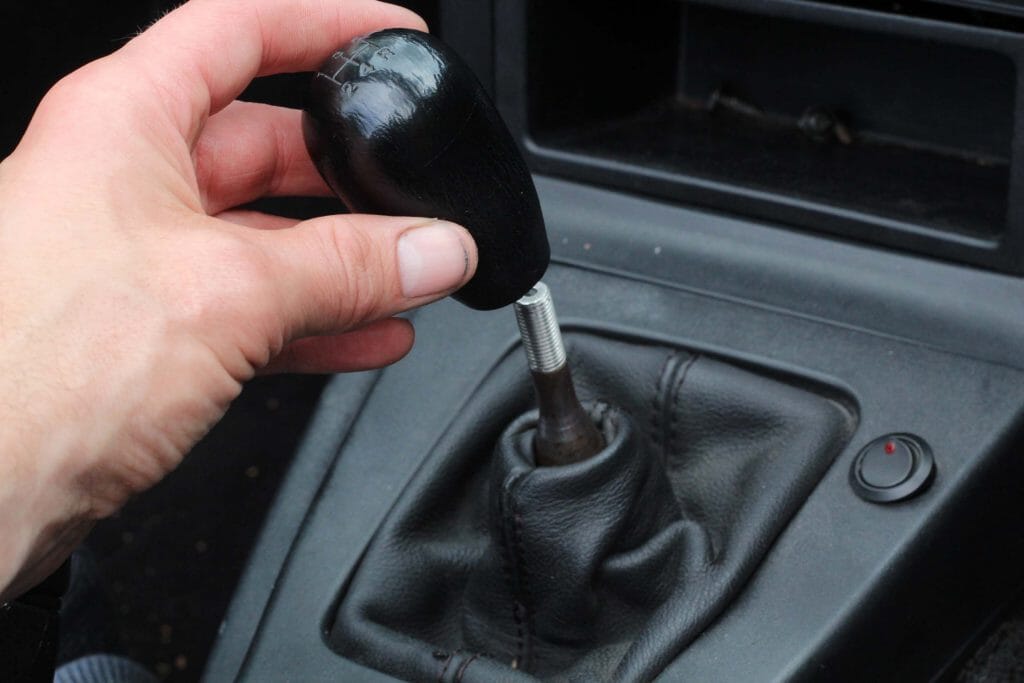
- Unscrew the gearknob.
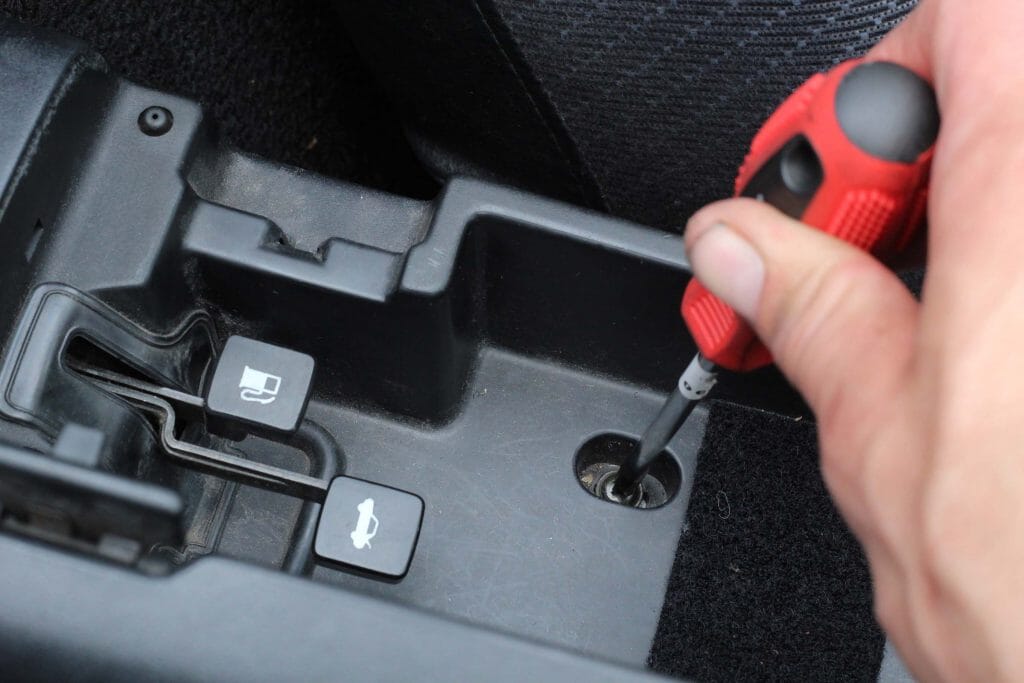
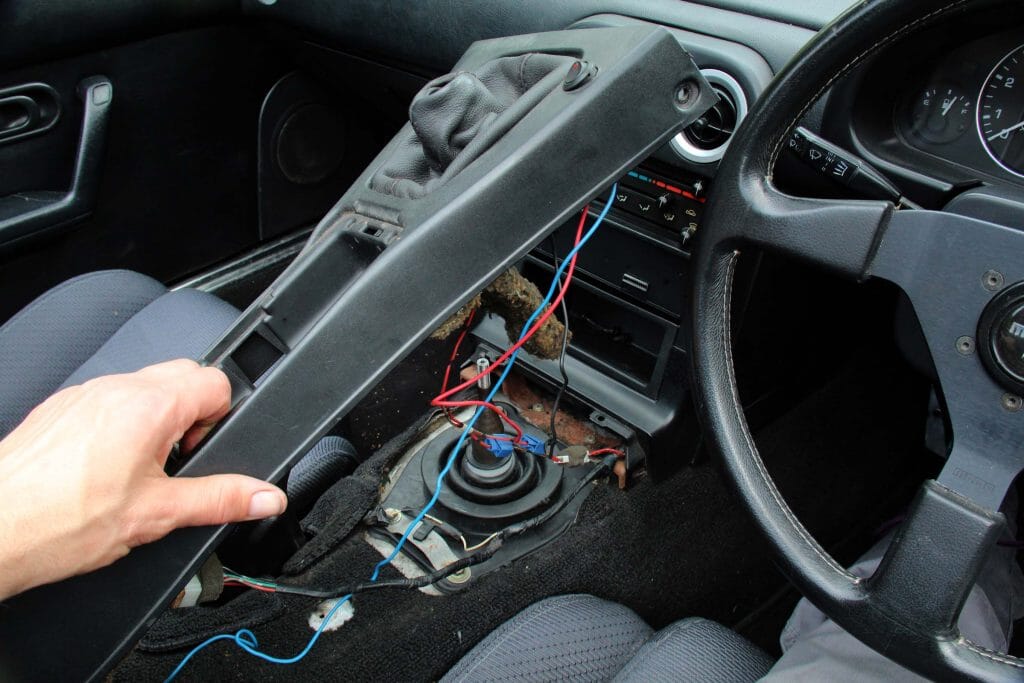
- Remove the centre console; on Mk1s as shown there are two screws either side at the front, one smaller one under the ashtray and two more in the centre cubby. With these removed manoeuvre the console over the boot/fuel filler release levers and disconnect any wires for electric windows, fog lights or similar - these should be on quick release electrical connectors.
- Remove any sound deadening not removed with the centre console.
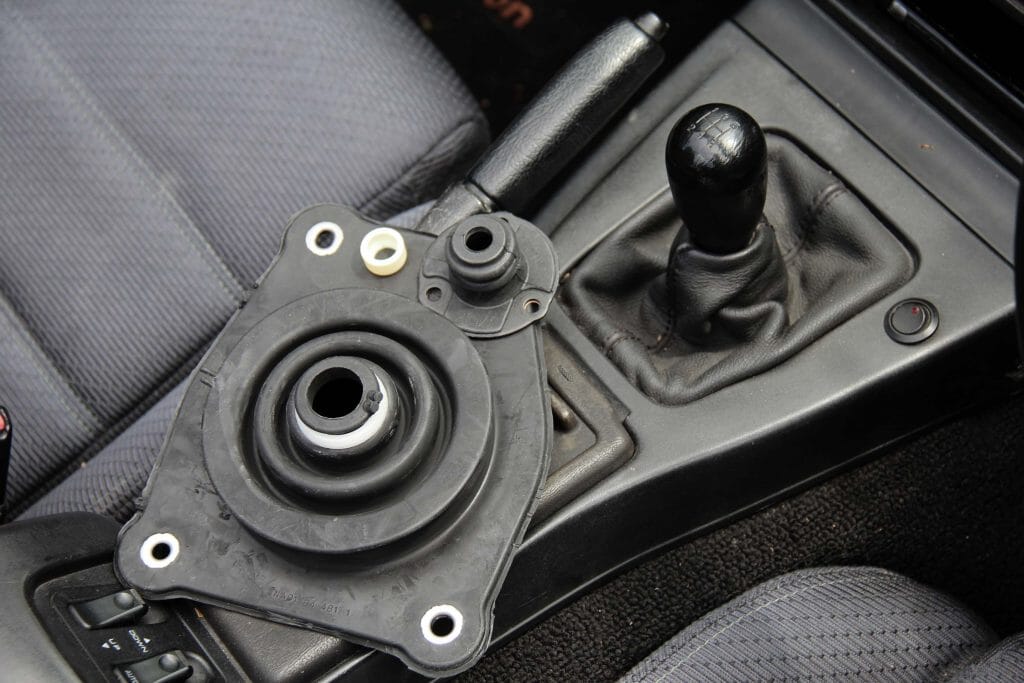
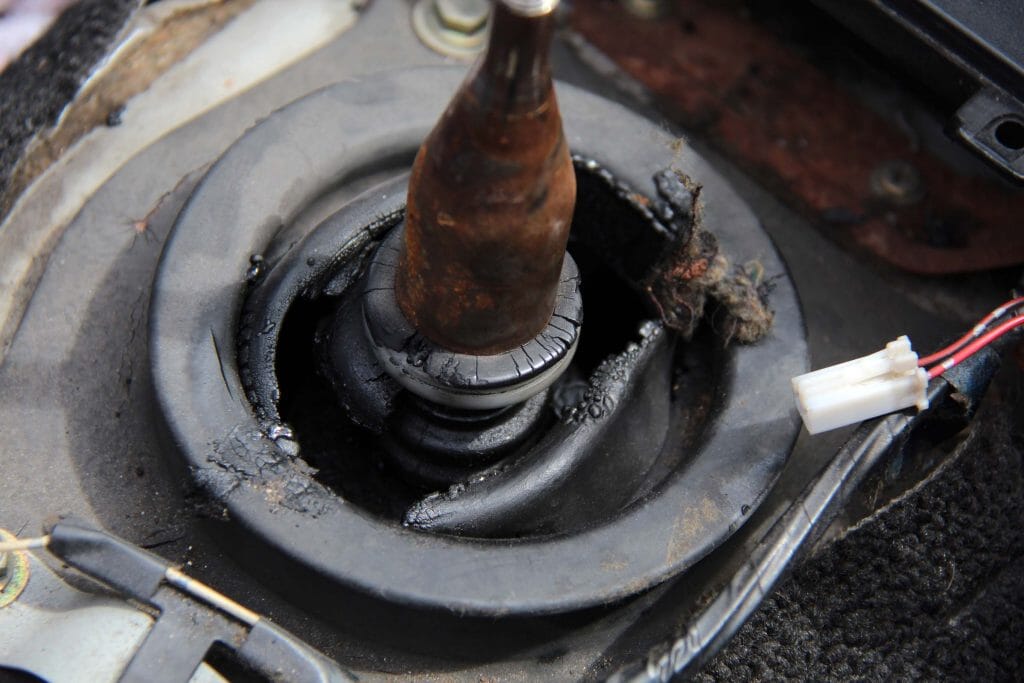
- You can now see the upper shift boot, or What's left of it if it's degraded like the one pictured. Remove the four 10mm bolts on each corner and lift it over the stump of the gear lever.
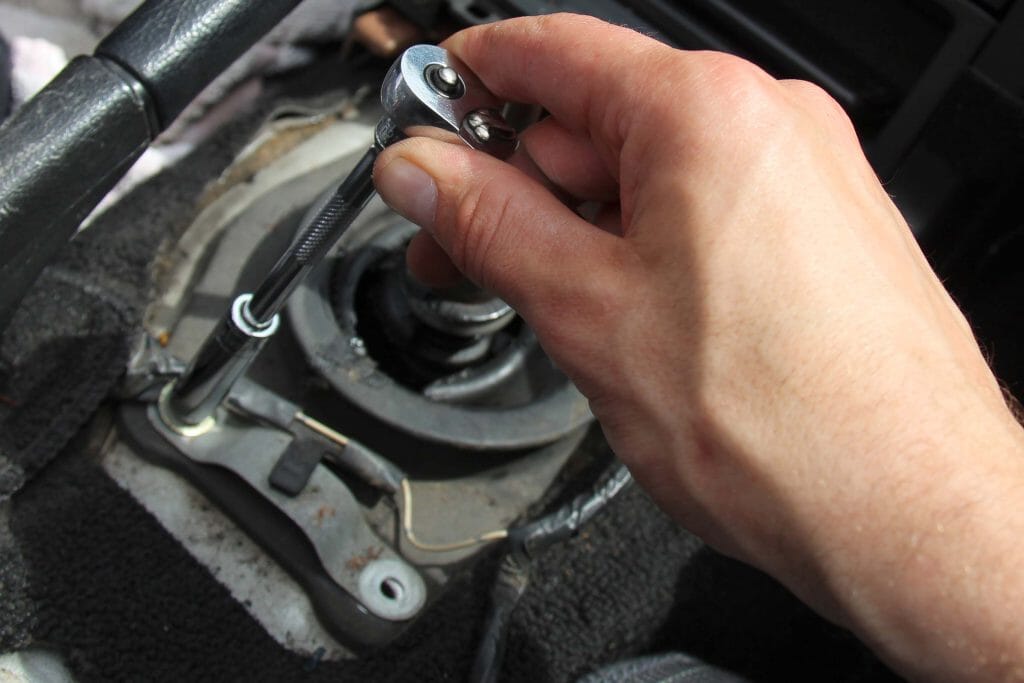
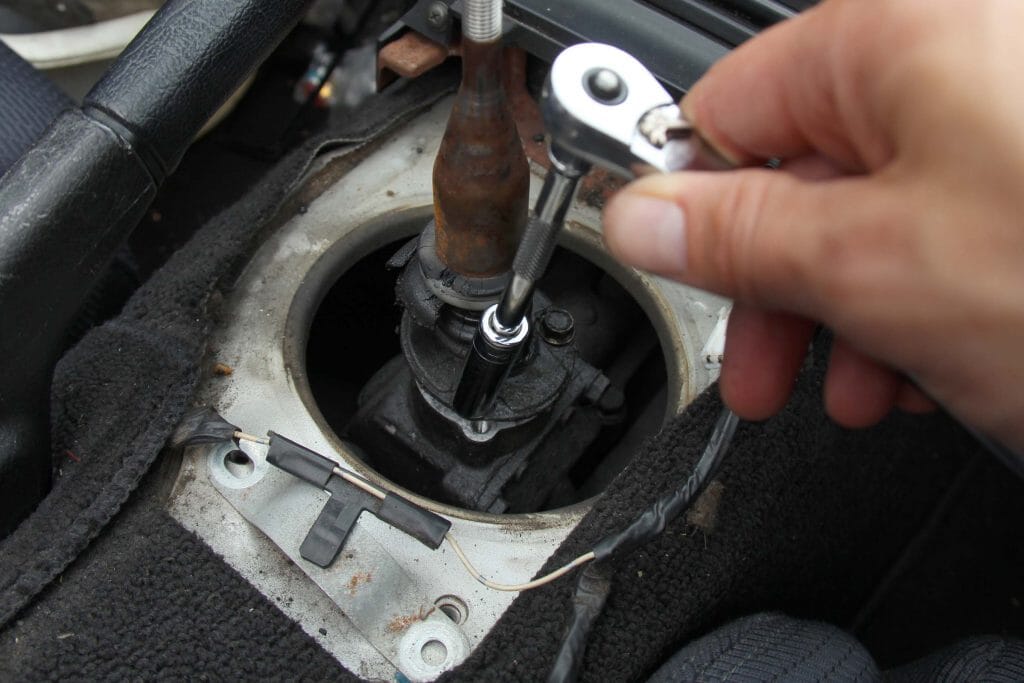
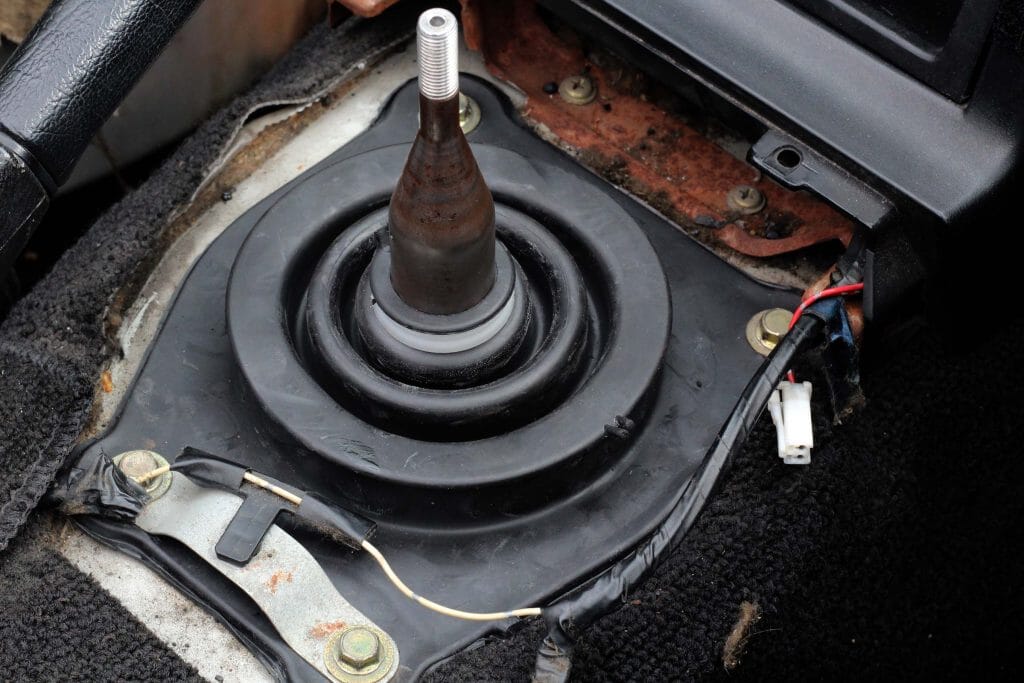
- You should now be able to see the lower shift boot and the three 10mm bolts holding the lever in place. Making sure you're in neutral, be ready with a rag, remove the three bolts and give the lever a tug upwards. It should pop out but beware - it's sitting in oil and this will drip as the lever comes out!
- Set the lever aside somewhere safe.
- Using a syringe or suchlike draw the oil out of the shift turret and replace with fresh gearbox oil - there should be about 100ml or so but, if in doubt, top it up to around 25mm below the top of the shifter turret.
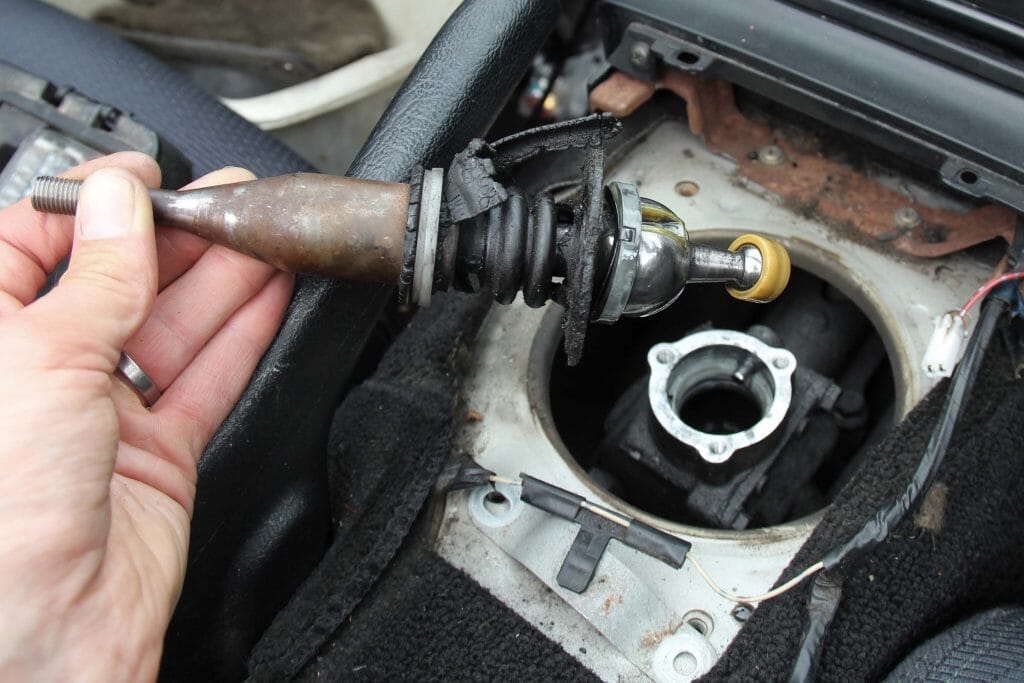
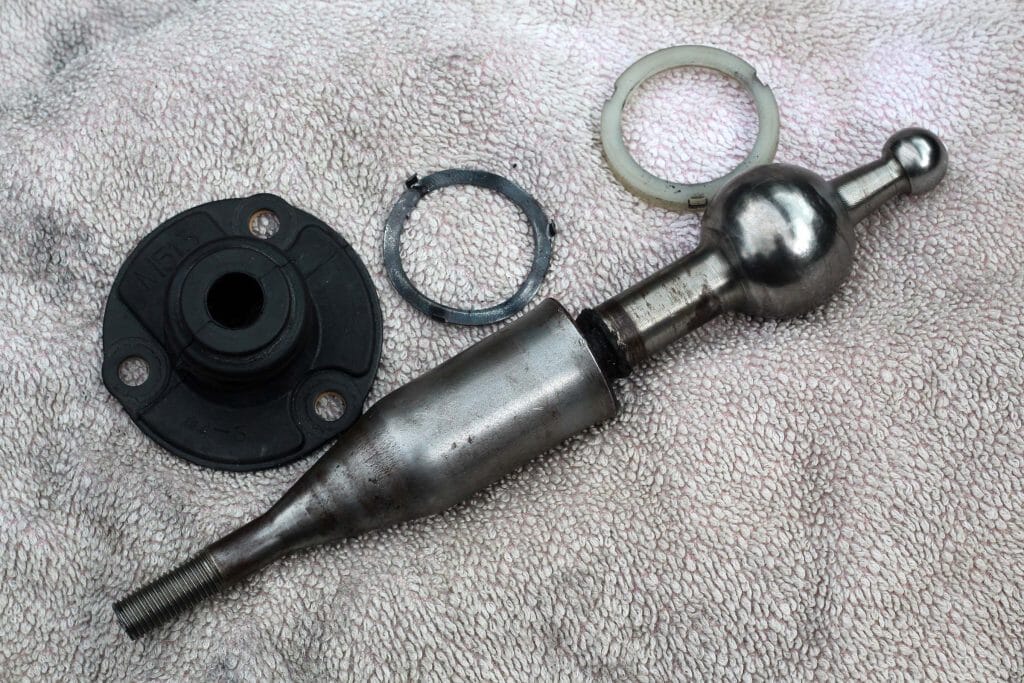
- Prise off the lower nylon shift bushing and remove the lower boot. This may need cutting off. Slide the large, upper bushing and its retained washer off the shaft, clean as required.
- Pop your new lower bushing on the lever, slide the upper bushing in place with the washer upwards and then slide the new lower boot over the shaft of the shifter - a dab of oil will help it slide down into place.
- Lining up the slot in the front of the ball on the shifter with the pin in the front of the shift turret, push the lever firmly down into the turret. It may require a jiggle to seat but you'll know when it's in place. Replace the three 10mm bolts to secure the lever in place - these only need to be hand tight.
- Install new upper boot, tighten the four 10mm bolts with the connecting bracket over the rear two, re-connect the centre console wiring and re-install with the screws in cubby, under the ashtray and either side at the front. Screw on shift knob.
- you're done!
- BUT If you want to change the gearbox oil and diff oil read on... First warm the car through and then jack it off the ground and support level and on four axle stands, taking all necessary precautions before going under the car.
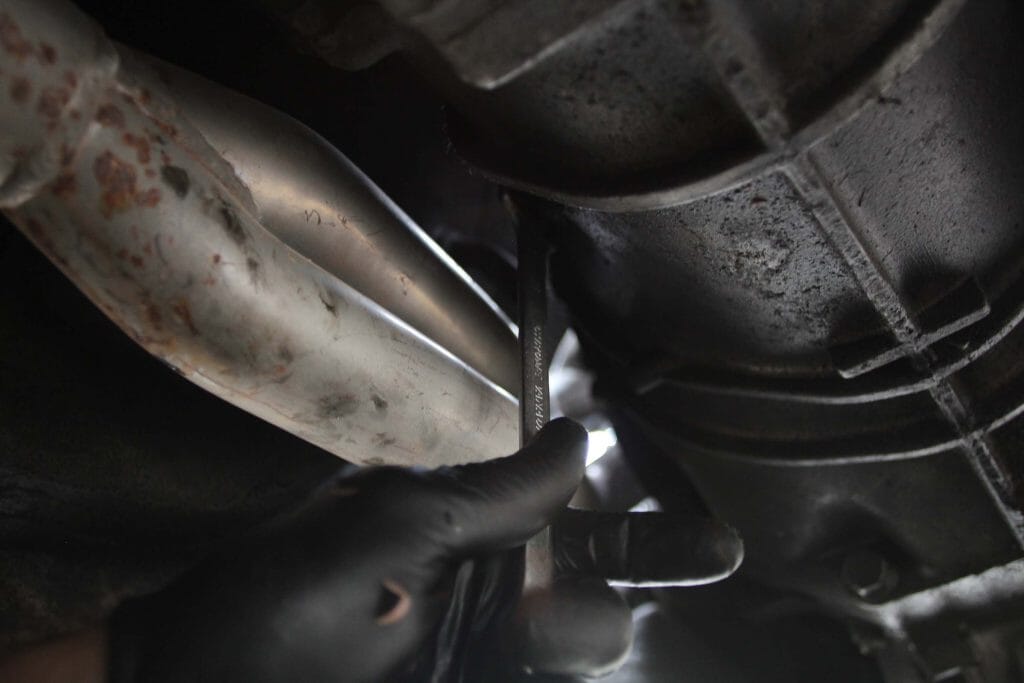
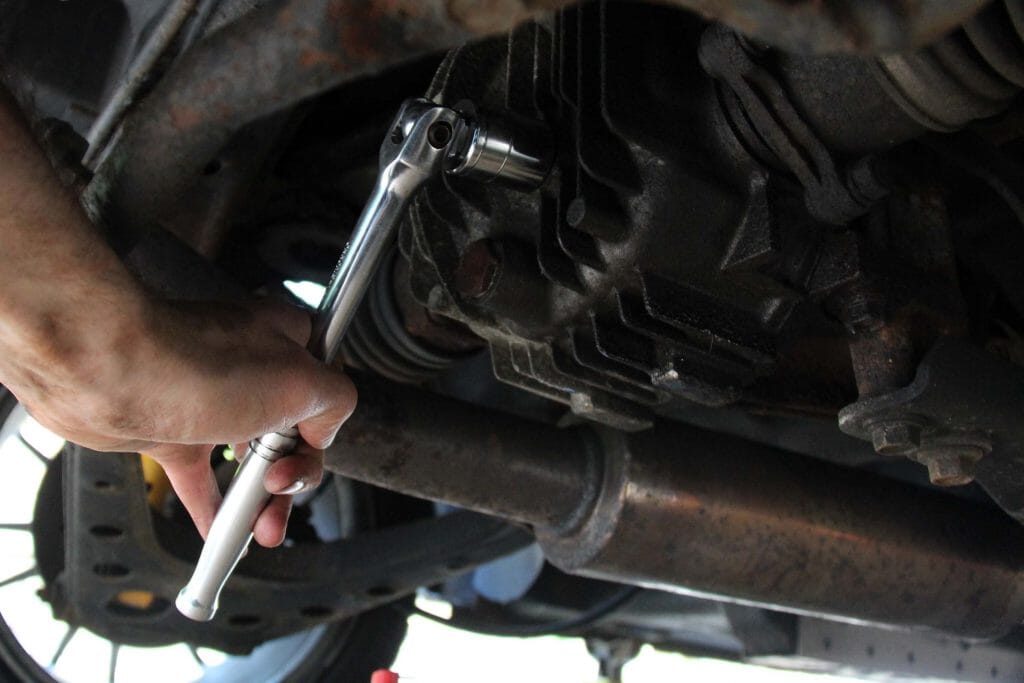
- Taking care not to burn yourself on the exhaust, locate the square drain plug on the side of the gearbox. it's a tight fit so mind your hands! Loosen with an open-ended 14mm spanner; if you're checking the level this is all you need to do.
- If you're draining the whole gearbox now undo the large, 24mm bolt on the bottom. Caution - this is a shallow head so make sure your socket is a secure fit before attempting to loosen it. A flat-faced, six-sided socket is best but proceed carefully. Once loose oil will drain out - have your catch pan ready! Go and have a brew while it's dribbling out.
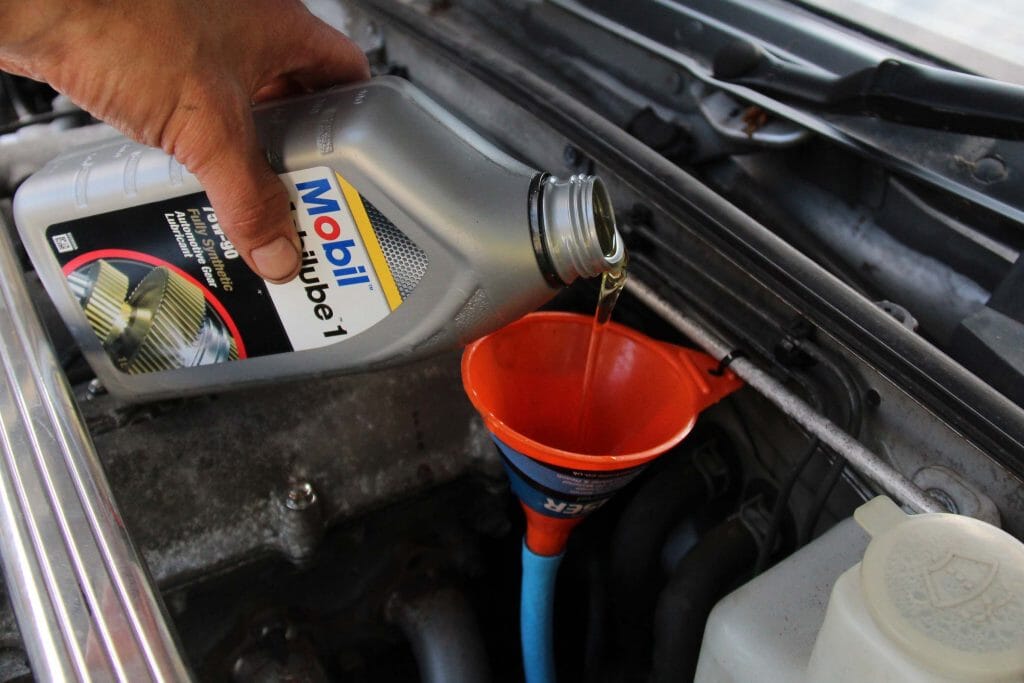
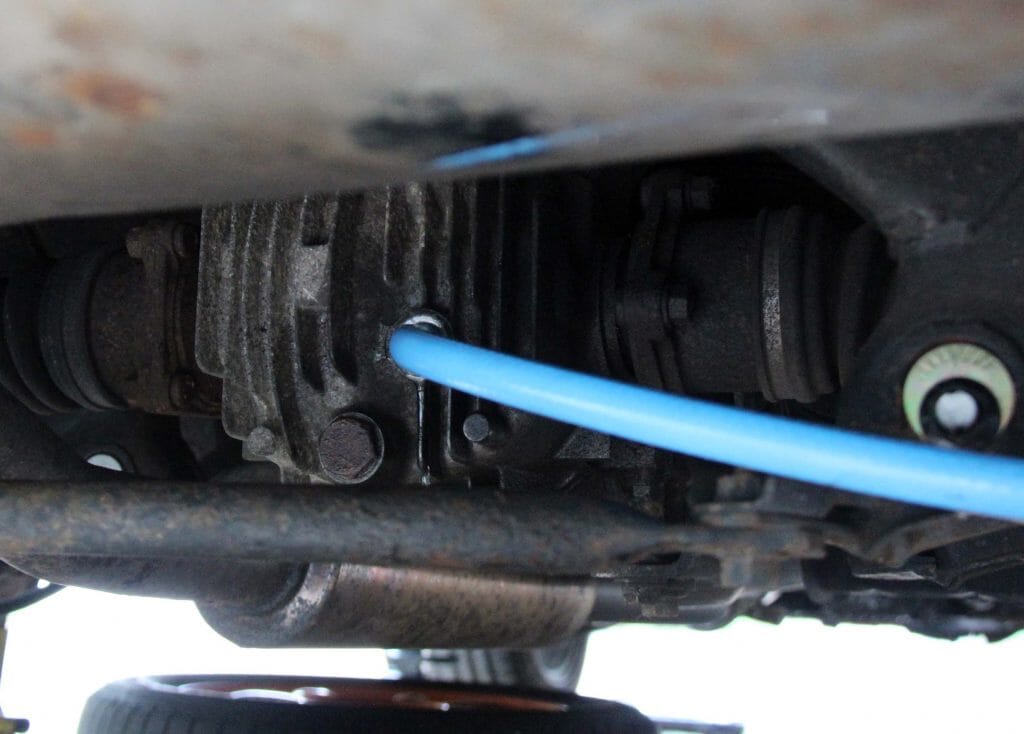
- Reinstall the main lower drain plug. From the engine bay route some hose down between the gearbox and exhaust, get back under the car and feed it into hole for the upper plug. Back in the engine bay stick a funnel on the top end and secure it somewhere in the engine bay with a zip tie. You can now fill the oil.
- Proceed slowly so as not to overwhelm the hose set-up. Check under the car to make sure it's not spilling out of where the hose is installed. The gearbox will take around two litres, at which point you'll start seeing oil dribbling steadily out of where the hose is going in. This is your cue to get back under the car, remove the hose and quickly re-install the plug. Give everything a wipe - oil on your exhaust will smoke when you next drive if not.
- The process is similar with the differential, there being an upper bolt for inspecting the level and a lower one for draining. Both are 24mm and, like the main gearbox bolt, require care to remove. If in doubt soak with penetrating oil first and make sure the socket is a secure fit on the nut before exerting any force - you don't want to strip or damage the diff casing or round the bolts.
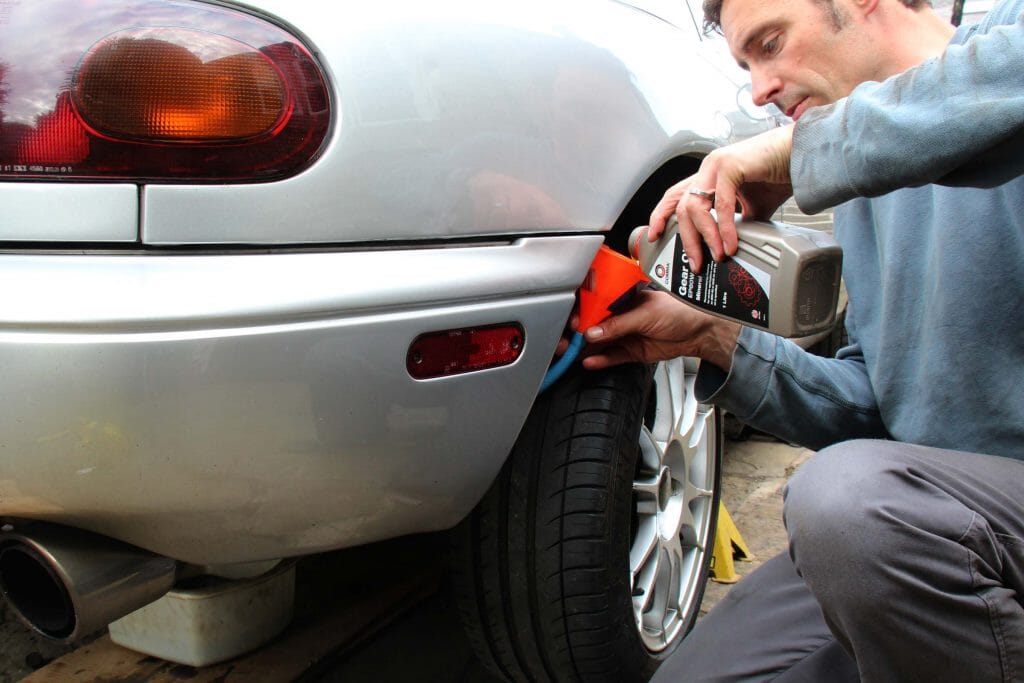
- Remove the top one first, then the bottom, at which point be ready with a catch tank for the old oil. Once it's drained out replace the lower bolt and rig up a similar hose and funnel set-up as used for the gearbox. You may need a bit more hose this time so have enough to route the pipe through the wheel arch and so you can hold the funnel higher than the diff. Carefully pour around a litre of diff oil (volumes vary from model to model) until you see a steady dribble from the hole into which the filling hose is fitted. This signifies the level is correct so quickly replace the upper drain bolt, tighten and then wipe any spilt oil.
- Give one last check under the car, wipe up any leaks and then take it down off the jacks. you're done!
How To Gallery

Leave your comment