
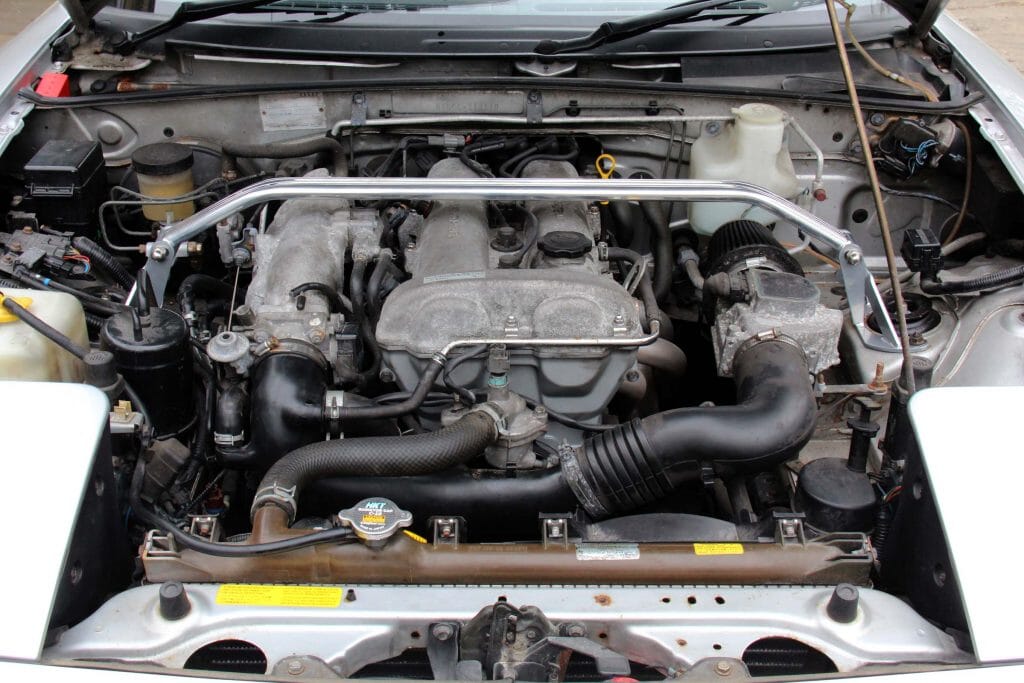
We're stepping up a level with this latest how-to guide, with a run-through on how to change the timing belt (or cambelt, if you prefer) on a Mk1 MX5 or Eunos. Much of what follows applies in principle to the Mk2 to as well, though there are differences and We'll look in depth at those at a later date.
Watch our How To Video
This job needs doing every 60,000 miles or five* years, whichever comes first. Or as a peace of mind service for any newly purchased Mk1, unless you have cast-iron proof it's been done recently. As part of a bigger 'year zero' service it also makes sense, given as part of the process you'll be removing the plugs and belts and draining the coolant system - if these are all due refreshing/replacing this is a good time to add those to the job. If you think there's any chance your water pump may need replacing now's the time to do it too - with the engine apart it doesn't add too much time and can give you total confidence in your engine for many miles to come. Of course, everything you need is available on MX5 Parts!
For the purposes of this guide We'll keep it to the timing belt replacement though.
What you need:
- Socket set, spanners, torque wrench, 10mm spark plug socket, hose clip pliers and general tools
- Breaker bar and six-sided 21mm socket
- Something to catch, store and safely dispose of old coolant
- Fresh coolant, a funnel and other equipment for a coolant change - see here for full details on this job
- Plenty of time and a regular supply of tea to keep you going
How to do it:
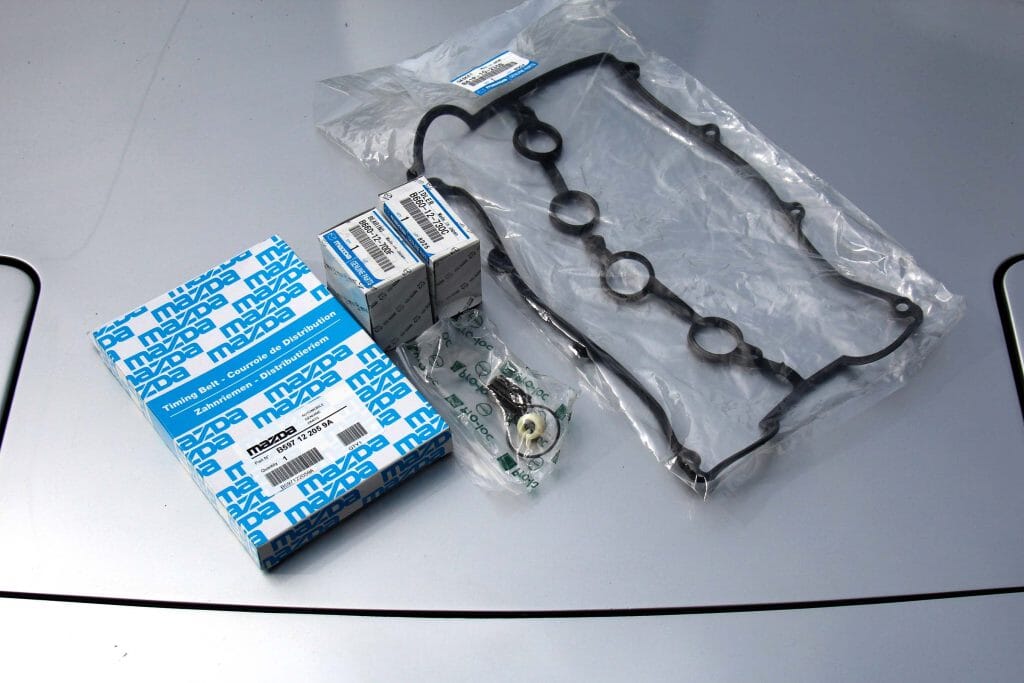
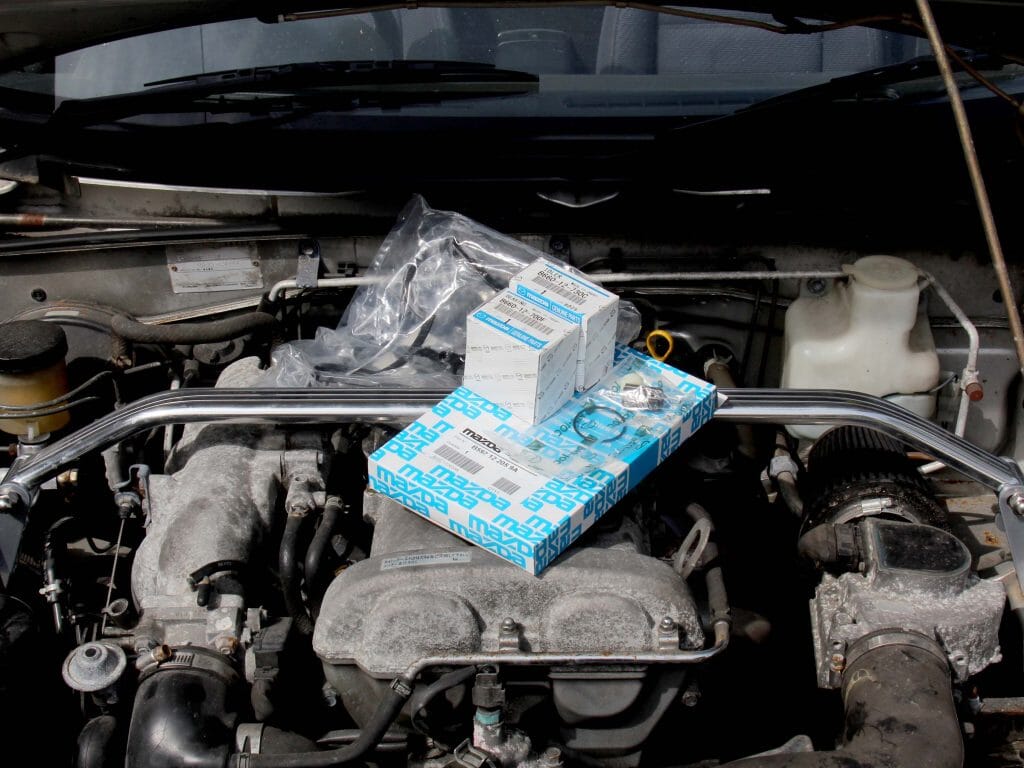
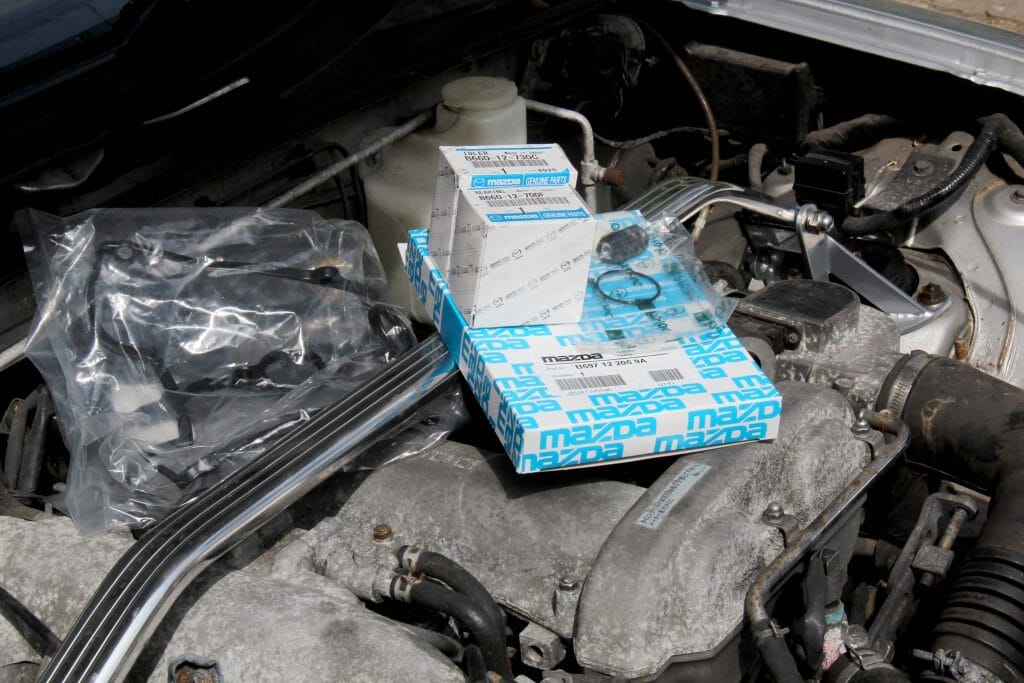
- Order your parts from MX5 Parts! Click on the Belts/Bearings section for more - you can order all the bits you might need individually but it makes more sense to get one of the full kits according to how far you're going to go, the Ultimate Kit including water pump, cam and crankshaft seals. For the purposes of this guide we used the Genuine Mazda kit. Seeing as you're going to be taking them off anyway and they're cheap to buy you may as well include alternator and power steering/AC belts so they're refreshed too.
- Spend the evening before the parts arrive reading guides like this, manuals and watching some videos to get a feel for what you need to do.
- Get the car ready by disconnecting the battery, chocking the wheels and draining the coolant, making sure you have a suitable container to catch it and transport it for safe disposal.
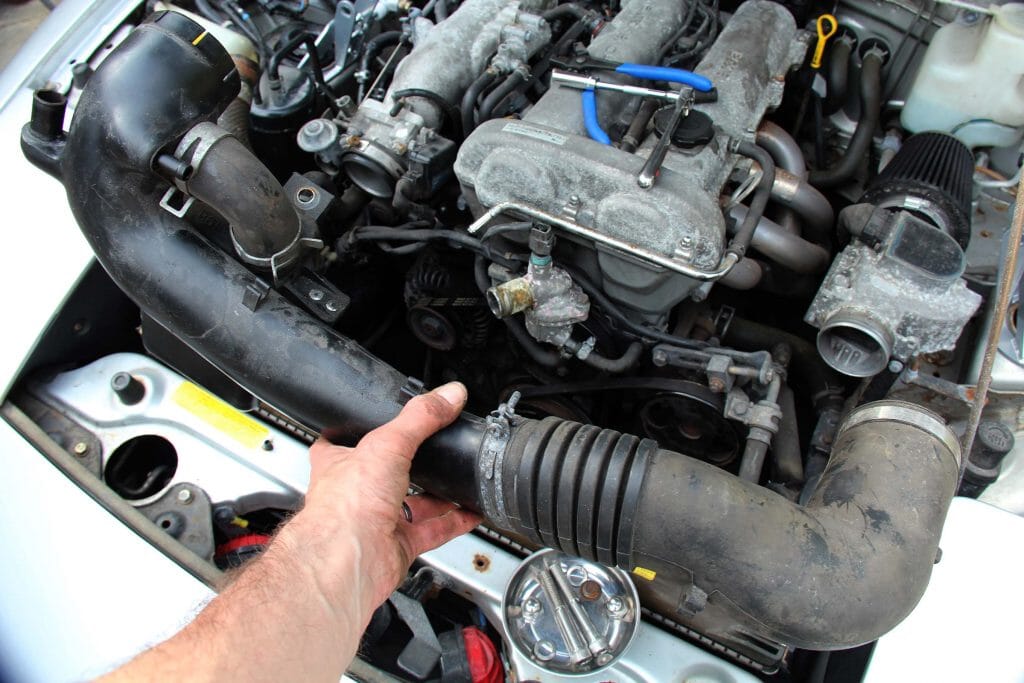
- Use your hose clip pliers and/or screwdriver to loosen the fastenings on the intake trunking and radiator hoses; slide the clips along the pipes and pull them off their mounts, starting with the main radiator hose (be ready to catch any dribbles of coolant) and then the inlet trunking - there's a bolt on the front of the engine you'll need to remove too.
- If your car has air conditioning and/or power steering this is the first belt you need to remove - first loosen the power steering pump by loosening the mounting bolts via the slots in the front of the pulley. You may need to turn the engine over slowly to line these up - with the car in neutral and a 21mm socket on the bolt holding the crankshaft pulley this is easy enough. Loosen the adjuster bolts, wiggle the power steering pump and the belt should slip off easily enough.
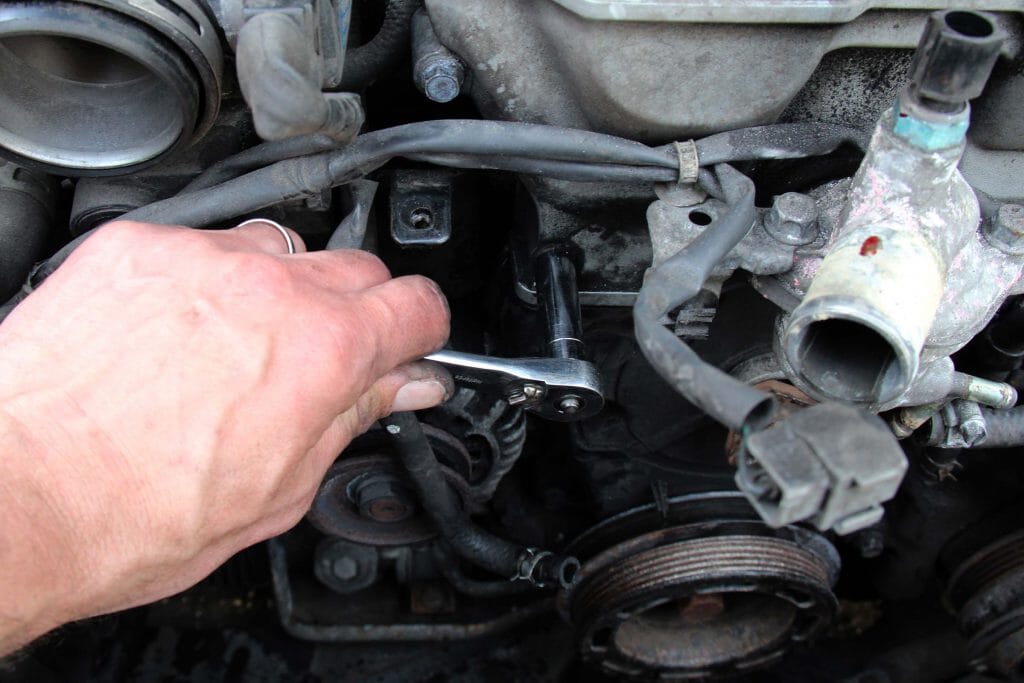
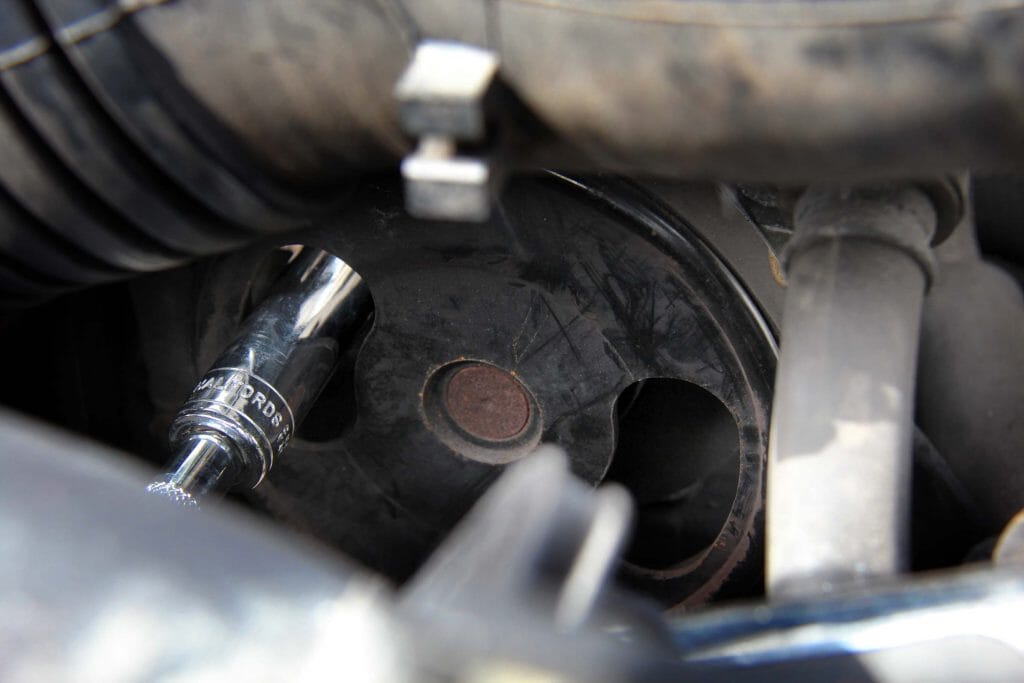
- IMPORTANT! Before removing the alternator belt crack the three 10mm bolts holding the water pump pulley on but don't remove it yet.
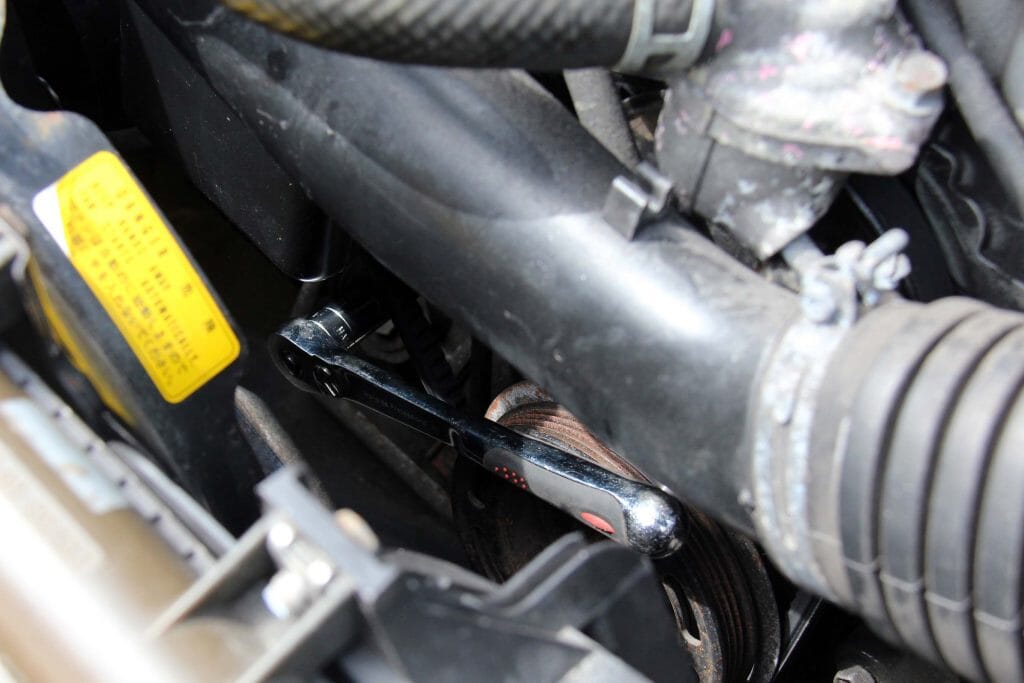
- Now remove the alternator belt; loosen the 14mm fixing bolt and then loosen the adjustor bolts under the intake manifold. it's a bit of a test of dexterity as they're quite deeply buried. With everything loose wiggle the alternator and remove the belt, having made sure you've disconnected all the wires and pipework for the thermostat so you can take it off fully.
- Now you can remove the water pump pulley via the three 10mm bolts you (hopefully) already loosened - if you didn't you'll have to put the alternator belt back on to hold the pulley so you can loosen them!
- Take a photo of your spark plug leads so you can put them back in the correct place; pull them off the top of the plugs and set aside. Remove the spark plugs with a 10mm plug socket.
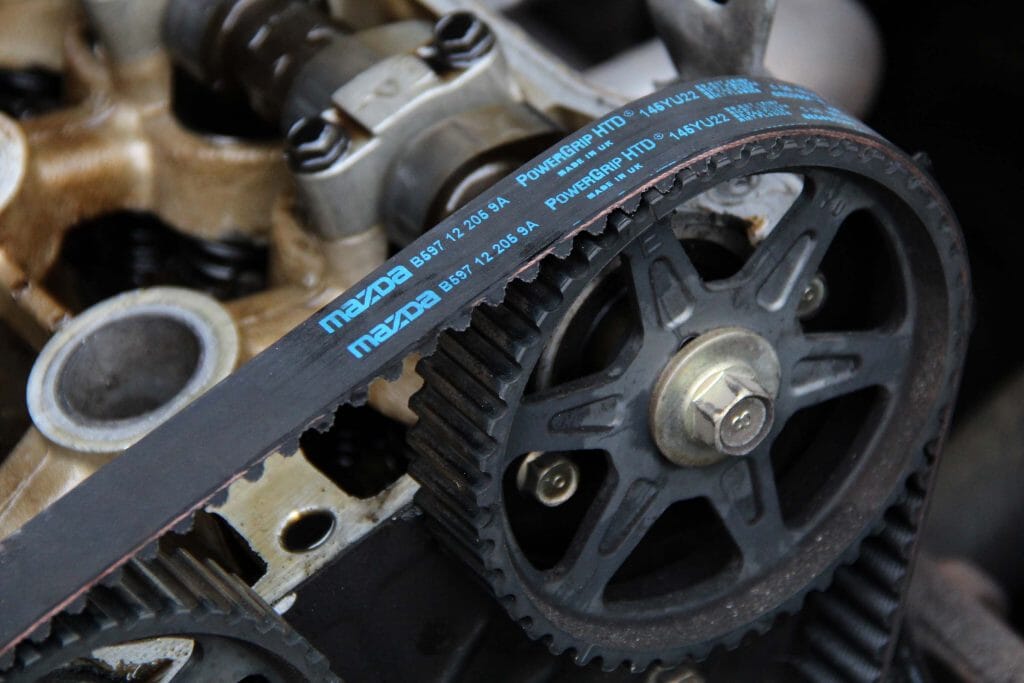
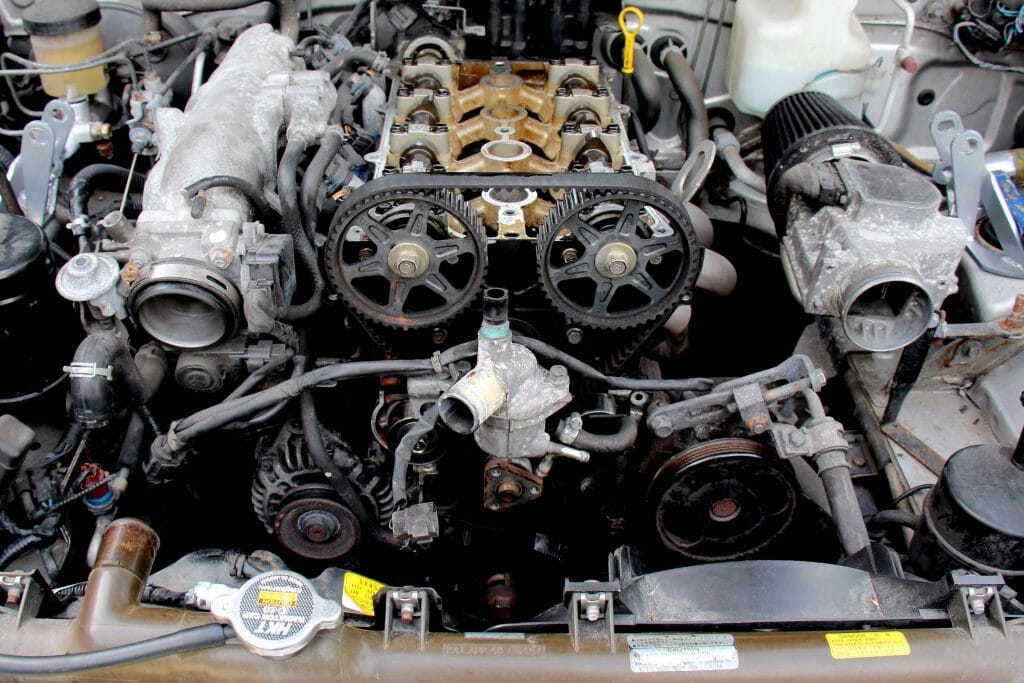
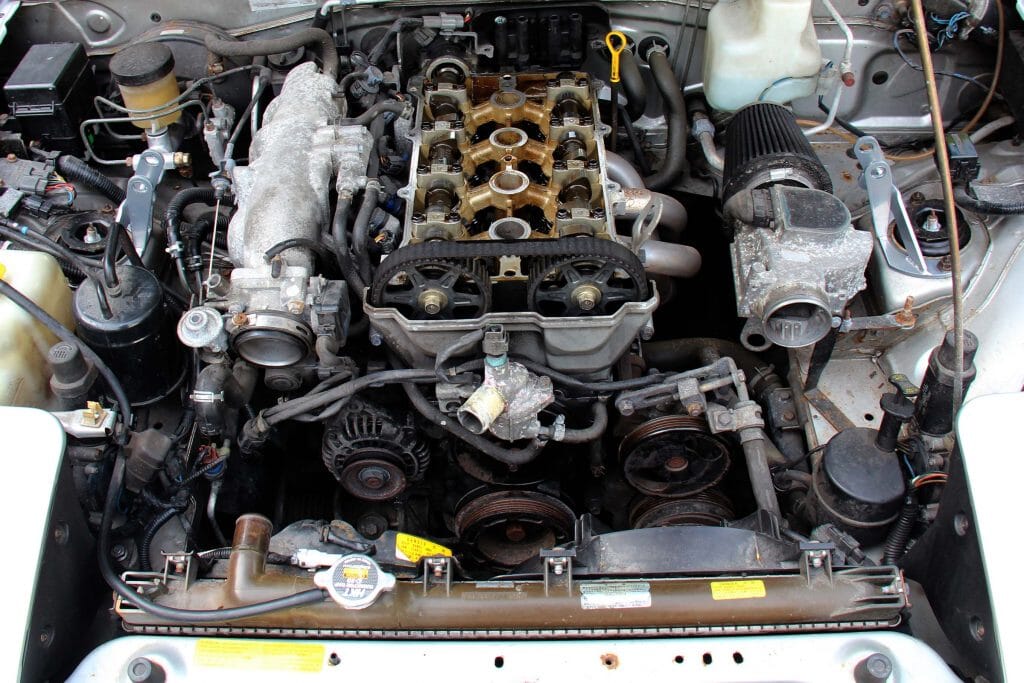
- Pull out the PCV valve from the cam cover (just give it a tug) and remove the 11 bolts holding the cam cover on. Remove the coil pack held to the rear of the cam cover and lift the cover off. You can now see the camshafts, sprockets and top of the cambelt you'll soon be replacing.
- From top to bottom remove the plastic cambelt covers on the front of the engine - these are held by fragile 10mm bolts that may be seized, so give them a squirt of penetrating oil, have a cup of tea and proceed carefully to avoid rounding the heads off. To remove the bottom one you're going to need to take the crankshaft pulley off first...
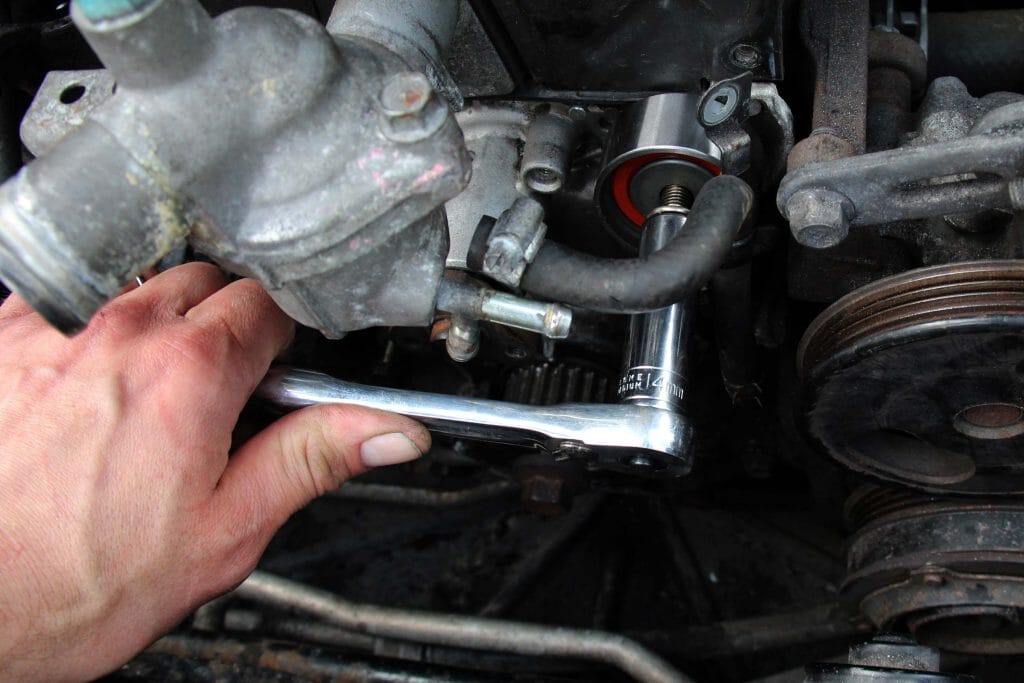
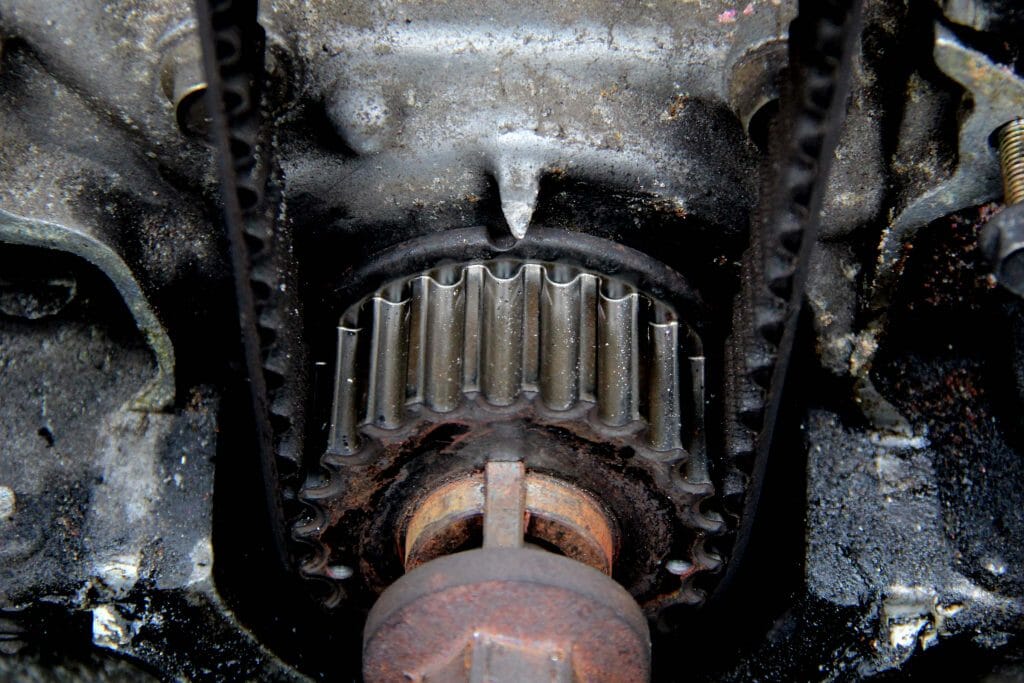
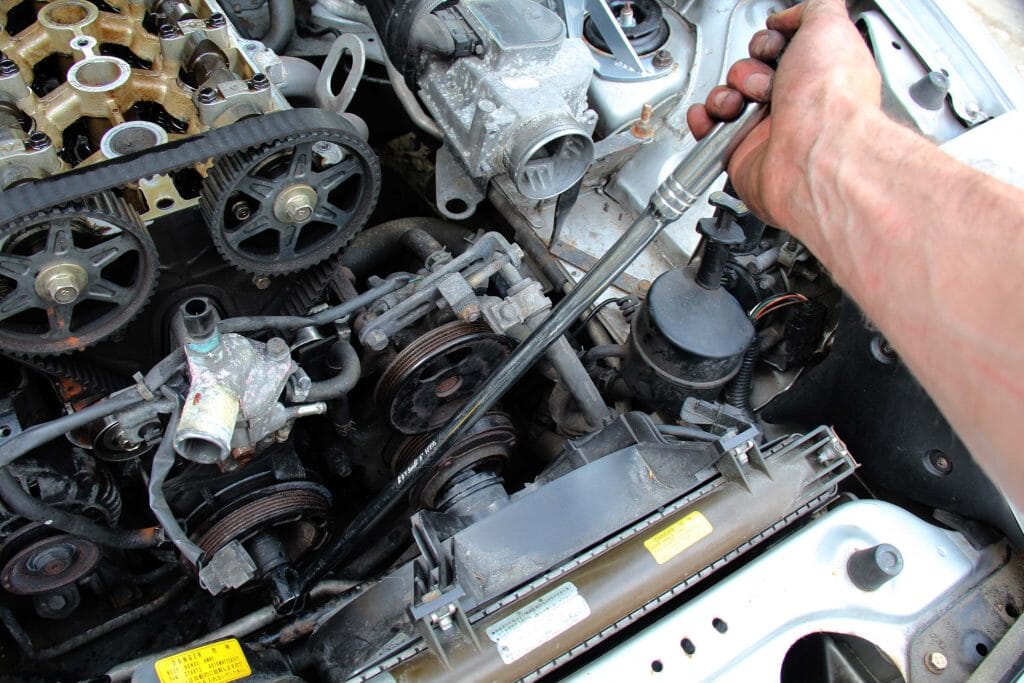
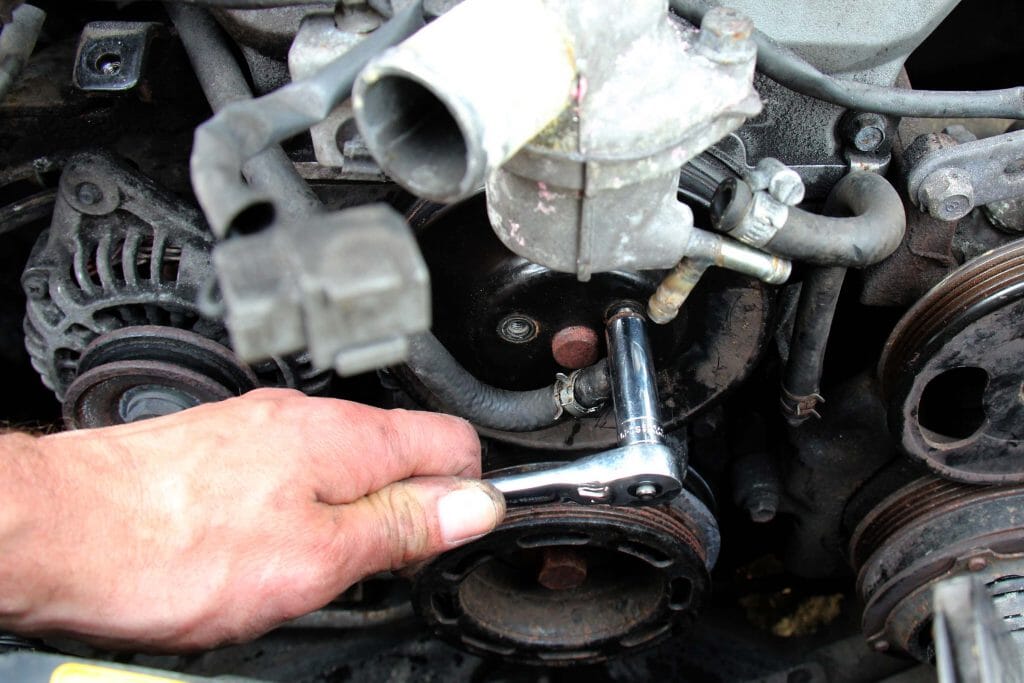
- This requires a breaker bar with a good six-sided 21mm socket. Put the car in gear, have someone sit in it and hold the brakes on, make sure the socket is seated securely and give the bar a proper heave. Once loose you can remove the bolt and the pulley - it may need a gentle tap or two from a rubber mallet to encourage it off the crankshaft. Now you can remove the lower cambelt cover. Put the 21mm bolt back into the crankshaft for turning the engine.
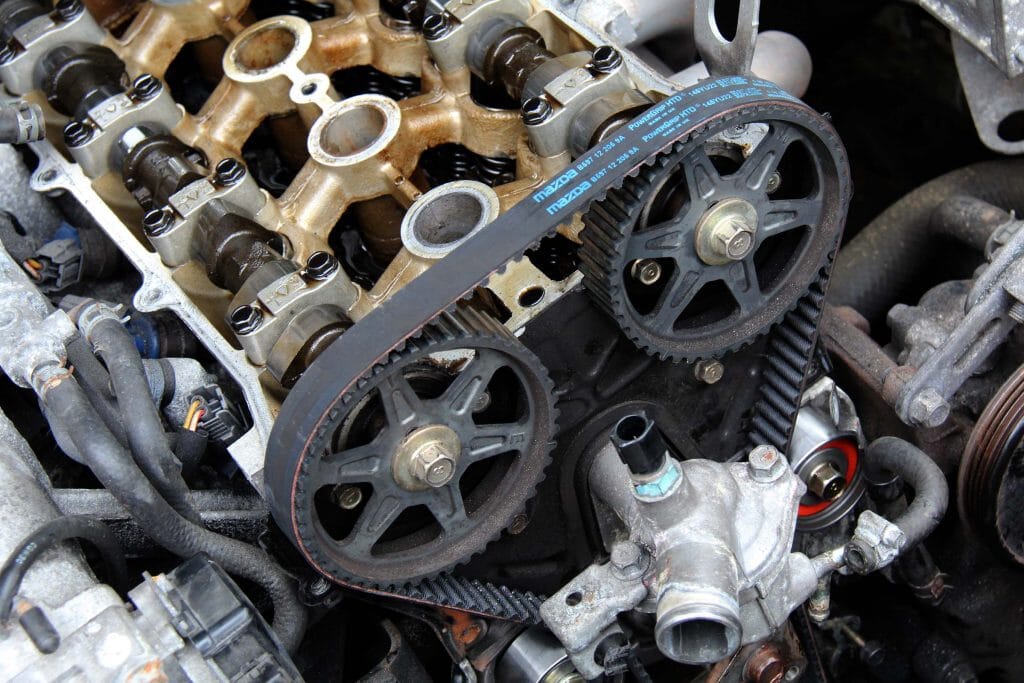
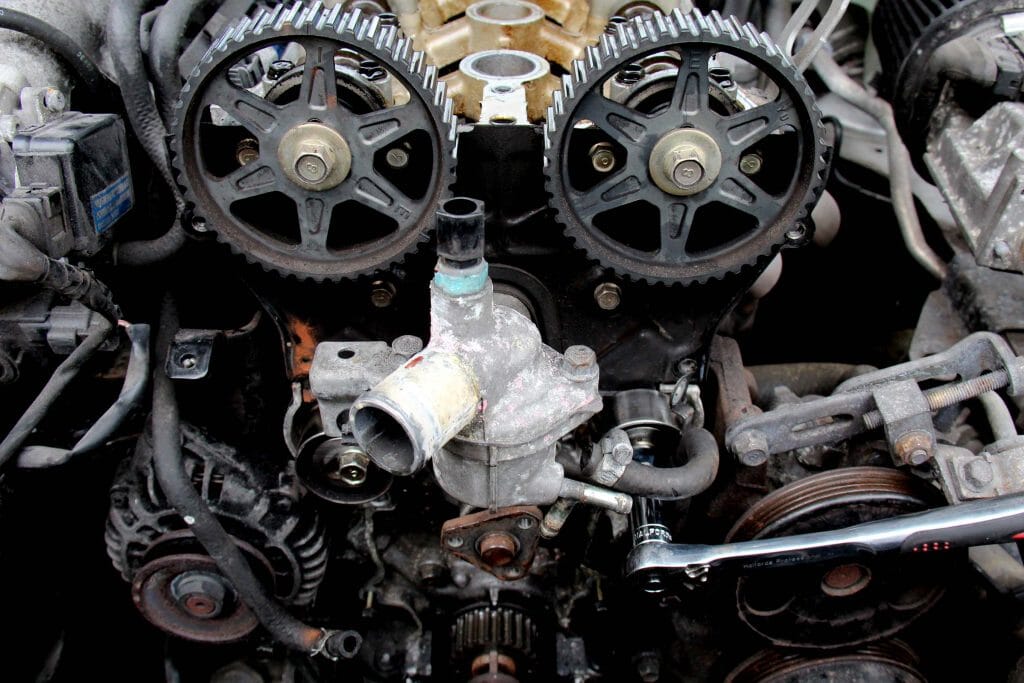
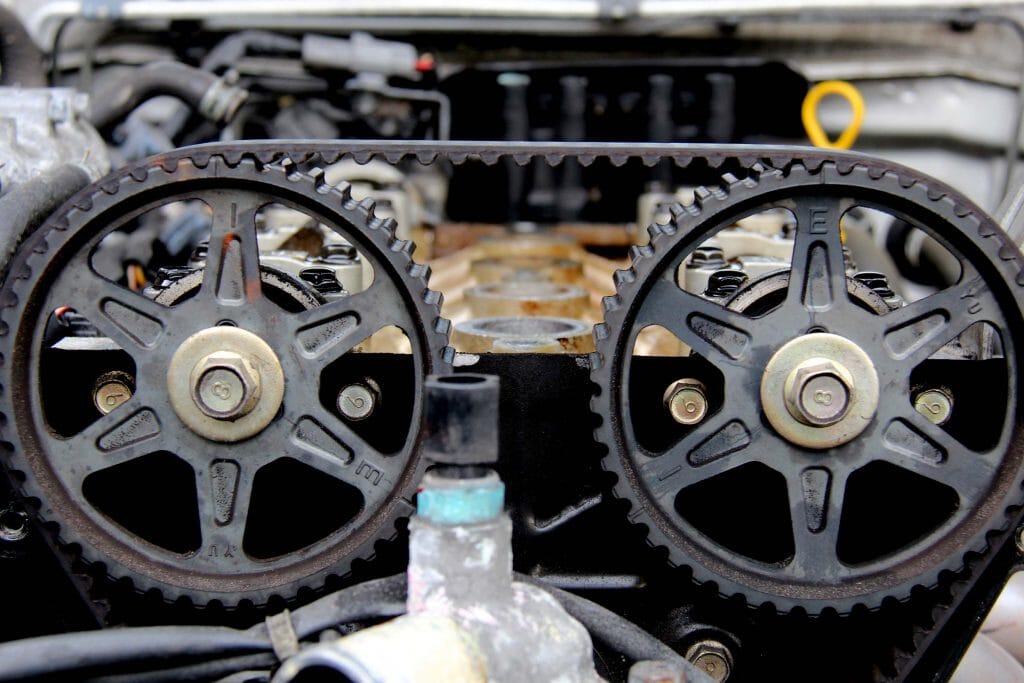
- Take the car out of gear and use the crankshaft bolt to align the cam and crank sprockets. Looking at the engine the left (inlet) has a notch and an 'I' that should be at 12'o'clock. The right has an 'E' for exhaust and should also be upright. On the crankshaft sprocket there's a notch that should align with a spur on the crankcase. It is vital these remain aligned when you put the new belt on or your timing will be out.
- Loosen the 14mm bolt on the tensioner pulley, which is the one to the left of the water pump. Working against the spring move it to the left - this should release the tension in the cambelt. Nip up the bolt again, the slack in the belt now sufficient to carefully work it off the cam and crank sprockets. Well done - you're half-way there. Have a celebratory brew.
- Remove the other idler pulley and replace this and the tensioner (and its spring) with the new ones in your kit. Set the tensioner up as you did when you removed the belt and nip the bolt to hold it in place.
- Check the engine for leaks - any signs of coolant may mean you need a new water pump and now's the time to pause, order a new one and wait for your next day delivery. Oil around the crankshaft may mean you need a new seal - again now's the time to do it if so.
- All good? OK, time to put the new belt on. This is a bit fiddly but start at the bottom, run it round the idler on the right and make sure the alignment marks still line up work it round the exhaust sprocket, all the while keeping the tension in the belt. Now slip it over the inlet sprocket, again making sure the tension is constant and the cams don't move. it's a fiddle so take your time and once you're satisfied release the tensioner bolt to tighten it up and nip the bolt up again. Hopefully the sprockets are all in the right places, the belt is tight between the inlet and exhaust sprockets and all is good. If you're confident it is, turn the engine over for two complete revolutions via the crankshaft pulley bolt. Everything still lined up against its markers and the belt still tight? You should be set...
- Now it's a case of reversing all of the above and carefully retracing your steps. Nip the tensioner and idler bolts up to the correct torque, replace the plastic cambelt covers, making sure the rubber seals are in place and good condition and seated correctly.
- Fit your new seal to the cam cover, carefully seating it and then putting the cover back on top of the engine. Install the 11 bolts into their sockets and, working from the centre, tighten them hand tight with a short socket in an anti-clockwise pattern.
- Put the car in gear again, replace the crankshaft pulley and tighten the bolt. Refit the water pump pulley and then the alternator belt, adjusting to make sure it's tight (but not too tight!) and nipping up the lower fixing bolt. Do the same for the power steering/AC belt. Check all bolts are correctly tightened.
- Replace all the intake trunking and radiator hoses you removed previously. Refill the coolant as per our coolant change how-to.
- If you're satisfied everything is in its correct place, there are no fluids dribbling anywhere and you're ABSOLUTELY SURE the timing markings were correct it's the moment of truth time. Reconnect the battery and start the engine. If all has gone according to plan it should be running sweetly - if there are any strange noises or something feels wrong turn it off immediately and prepare to call the cavalry. Hopefully that won't be necessary and you're set for another three years!
How to Gallery
*Please note this is correction from the 'How To Video' that states every 3 years*
Leave your comment