
In our final modification in our ‘Great Mk1 Giveaway’ we offered you the choice of three different coilover sets and you went with the Gaz Gold Professionals – here’s how we fitted them to our project car
While MX5s – especially the earlier generations – are very easy to work on for the home mechanic and the bulk of the jobs done on our Great Mk1 Giveaway project car would be within the scope of any enthusiast for this latest job there was no getting around we needed some professional help. Sure, a resourceful and experienced DIYer might just be able to do it themselves but, frankly, replacing suspension struts and springs is probably one of those where you need to phone a friend.
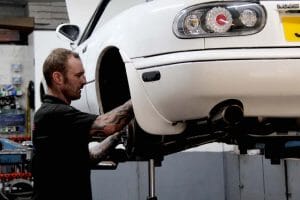
Accordingly, when the Gaz Gold Professional kit you voted for arrived from MX5 Parts by next-day delivery we popped down to our friendly local garage His & Hers Garage in Halifax to get the coilovers fitted. A tuner and Time Attack racer himself, main guy Mick has done this kind of thing many times before, both in his day job and when working on his own cars. So we were in safe hands.
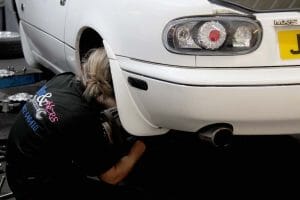
With the car up on the ramp and the wheels removed it was time to set to work, starting at the front. While in essence it’s a relatively straightforward job of removing the bolt on the lower wishbone that goes through the eyelet on the lower end of the damper old bolts can take a bit of ‘persuasion’ to get going, and it’s here a pro mechanic’s tricks of the trade come into their own. A combination of penetrating oil, impact wrench and breaker bars got the bolts moving, the top mounts secured by two studs that go through the towers under the bonnet. With all these removed and a bit of wriggling the old struts came out easily enough, Mick then using a spring compressor to remove the top mounts to re-use on the Gaz coilovers.
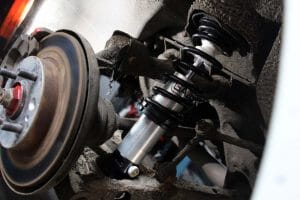
These include variable height spring beds you can adjust by screwing up or down the threaded body of the damper, permitting as much as 40mm of ride height adjustment. Having mounted the springs Mick measured the distance from the lower collar and made a note of it to establish a benchmark-setting from where further adjustments could be made.
With these assembled it was a case of reversing the process, inserting the struts from inside the wheelarch, securing at the top and then manoeuvring the lower wishbone with a jack to align the eyelet on the damper with the mounting hole on the wishbone. One down, three to go…

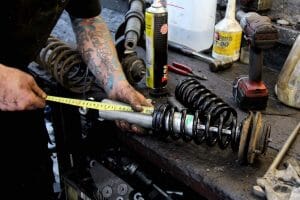
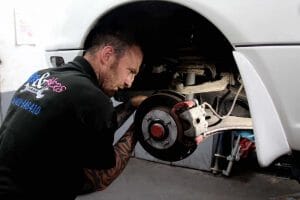
The process was pretty much the same on all four corners of the car, the top mounts for the rear struts a little fiddly to reach from within the boot, especially on the nearside given the need to navigate round the fuel filler pipe. Given the spring compressors, jacks and the convenience of having the car on a proper lift made us very glad we’d taken it to the professionals!
With the car back on the ground and settling on its new dampers Mick methodically checked the ride height was consistent on all four corners, pleased to discover we’d nailed a perfectly level combination roughly in the middle of the 40mm range of adjustment. We started with the damper clickers halfway through their range but a simple bounce test of pressing down on each corner of the bodywork revealed the rears were a bit feisty, so we dialled on a few more clicks to calm them down.
A quick round-the-block test drive indicated things were there or thereabouts and we had a base from which further adjustments could be made, if needed. And with that settled it was a case of checking all the bolts were correctly torqued up, the wheel centre trims were back in place and all was good to go.
While Mick said you wouldn’t necessarily need to check or adjust your geometry after swapping springs and dampers if you’ve lowered the car, or you’re not sure when it was last done, it’s worth factoring this into the job too, given MX5s have a lot of adjustment available and good alignment can make a huge difference to the way the car handles.
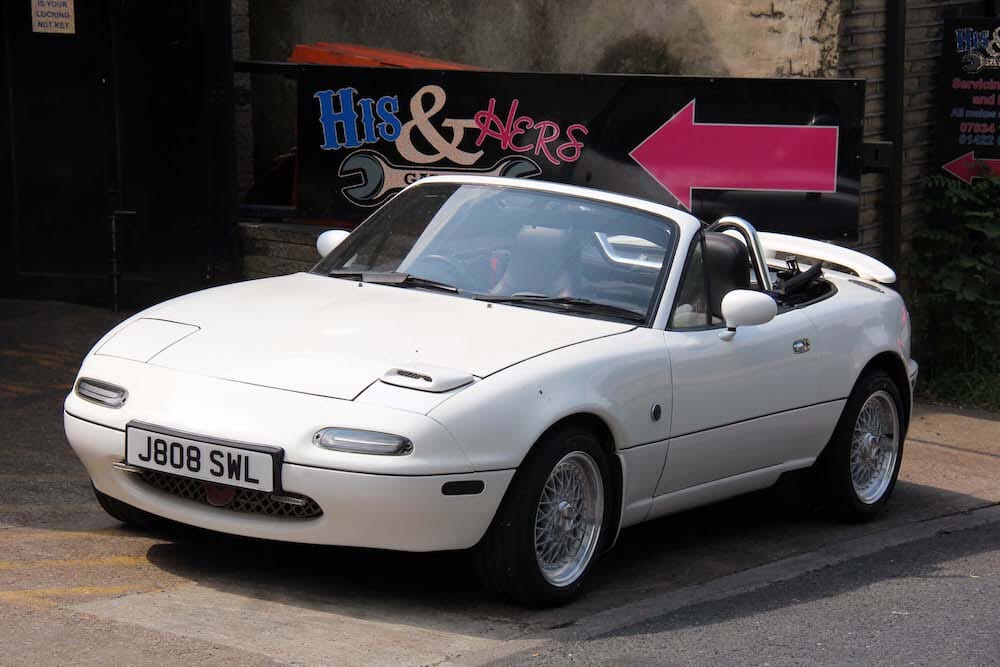
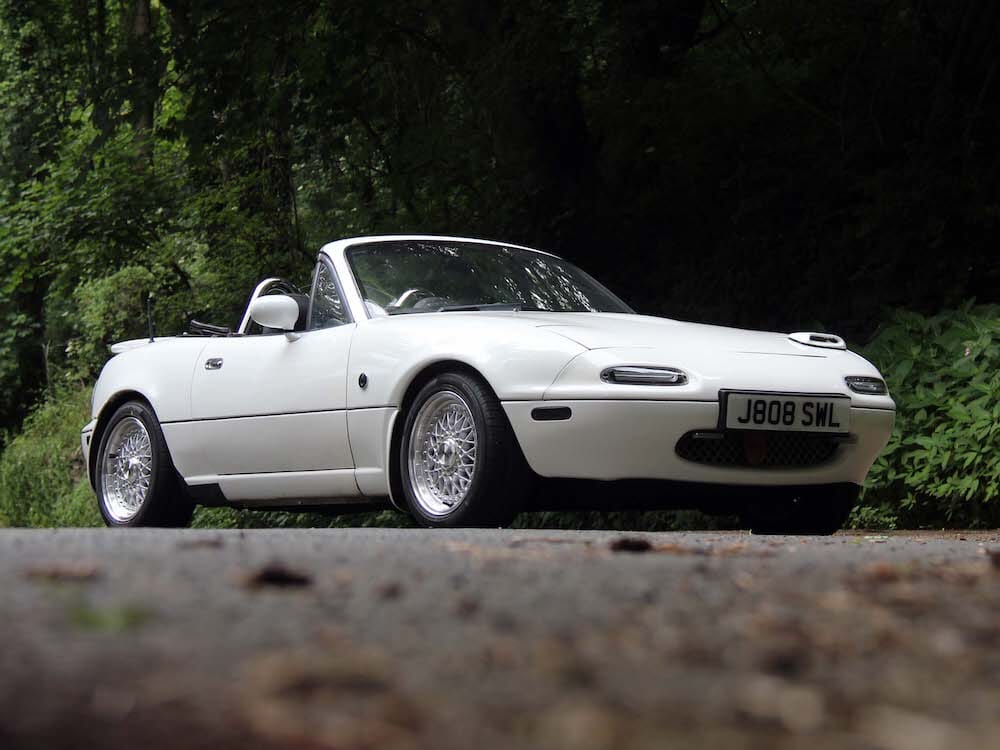
Aesthetically the Gaz coilovers have given our project car a much more serious stance and mean the 15-inch Calibre Vintage Alloy Wheels fitted previously now really fill out the arches. While we’ve only had a quick drive so far the car feels a lot stiffer as well, the Ultra Racing bracing bars we also fitted as part of this project helping the new suspension work as it should.
From here there’s tons of potential for adjusting the set-up in terms of ride height and damping, the former adjusted by turning the spring collars with a dedicated C-spanner while the latter is just an easy tweak of the clicker adjuster at the base of each strut. For that you don’t even need to take the wheels off, so you can easily ‘turn them up’ for a track day as you need. Of the three spring options our set came with the ‘fast road’ combination of 350lb springs front and 250lb rear, though you can go stiffer if you want.
Sallys edit test
Leave your comment